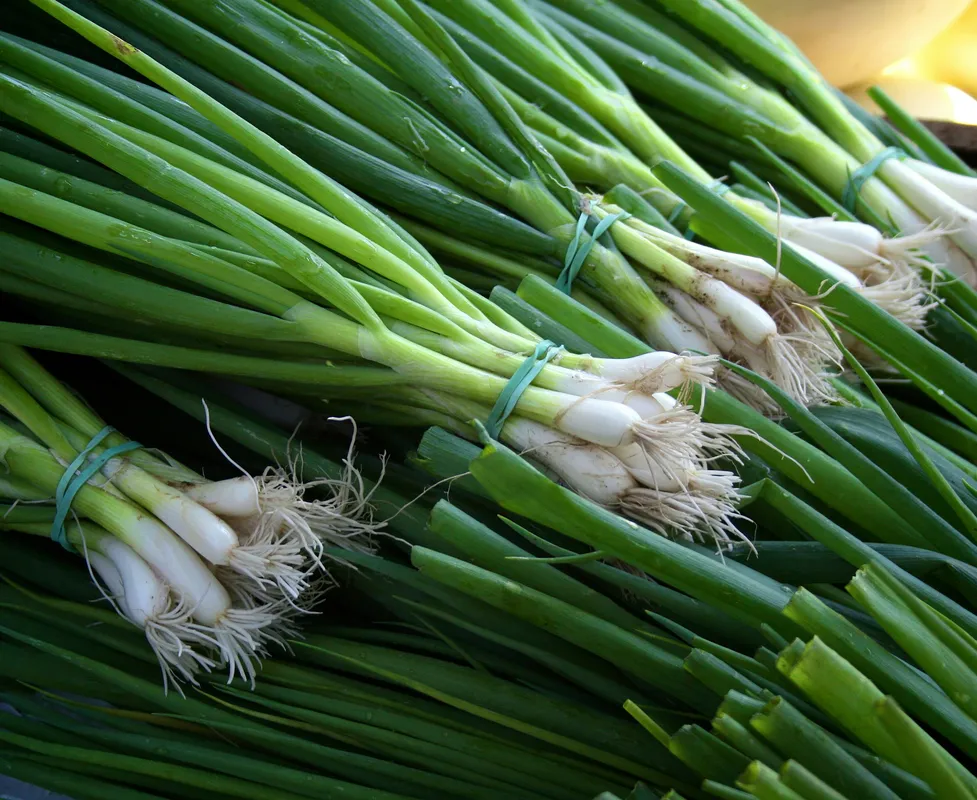
“Green onion” can describe more than one crop. True bunching onions or scallions, Allium fistulosum, stay relatively straight at the base instead of forming a storage bulb. Young leaves of bulb onion, Allium cepa, are also sold or harvested as green onions. Both can supply edible green tops, but the plant’s identity affects whether it is expected to remain non-bulbing, form a bulb, or behave as a perennial type.
University of Minnesota Extension identifies scallions as A. fistulosum and distinguishes them from Egyptian walking onions, a different perennial onion. Check the seed packet or plant label rather than assuming every grocery bunch will grow the same way.
There are two useful home projects:
- Grow scallions from seed or transplants for a sustained crop with roots in a fertile medium.
- Regrow intact grocery bases for a quick, short-term flush of leaves from stored energy.
The scrap method is a demonstration, not an endless food supply. Repeatedly cutting leaves while the base sits in plain water eventually depletes the plant. Use soil-grown plants or new sowings when the goal is continued production.
Choose the method by outcome
| Goal | Best starting point | What to expect |
|---|---|---|
| A regular container crop | Bunching-onion seed or healthy transplants | New roots and leaves supported by light, medium, water, and nutrients |
| A quick windowsill observation | Fresh grocery bases with roots attached | Short-term leaf regrowth using stored reserves |
| Bulb onions plus edible thinnings | A labeled bulb-onion variety | Some young plants can be harvested green while others mature according to variety and day length |
| A perennial outdoor patch | A correctly identified perennial onion | Different spacing and harvest rules from annual scallions |
Oregon State University Extension notes that bunching onions are also called green onions, scallions, and spring onions, grow well in containers, and prefer fertile, well-drained conditions.
Grow a container crop from seed
Select a container at least several inches deep with open drainage holes. Wider surface area gives more room for a row or band of scallions; extreme depth is less important than drainage and enough root volume. Use a fresh container mix rather than garden soil, which can compact and drain poorly in a pot.
For an indoor start:
- Fill the container with pre-moistened mix and leave a small watering lip.
- Sow the labeled seed at the depth on its packet. Scallion seed is commonly shallow-sown.
- Keep the upper mix evenly moist during germination without leaving the pot in drainage water.
- Give seedlings strong usable light as soon as they emerge.
- Thin or separate crowded seedlings so light and air can reach each plant.
Outdoors, scallions are a cool-season crop that can be direct-sown when local soil conditions permit. Indoors, temperature may be acceptable while light is the limiting factor. A dim countertop produces thin, leaning leaves; a bright window or properly placed grow light is more reliable. Use the indoor herb setup guide to assess the light at your window and decide whether to add a grow light.
University of Maryland Extension recommends containers with drainage, soilless growing media, and crop-appropriate sunlight for container vegetables. Place a saucer beneath an indoor pot to protect surfaces, but empty collected water rather than turning the pot into a reservoir.
Maintain even growth
Scallions have a relatively small root system and compete poorly with weeds outdoors. Keep the root zone evenly moist during establishment, then water according to the actual mix rather than a fixed weekday. A small sunny pot can dry quickly; a cool indoor container may not.
Water until excess drains, then wait until the upper layer begins to lose moisture before watering again. Persistent saturation can lead to weak growth and root disease, while repeated severe drying can stall seedlings.
Use a complete fertilizer according to the container-mix and product labels if the crop remains in the pot long enough to need feeding. Do not assume that more nitrogen automatically means better scallions. Excess fertilizer can injure roots or create salt buildup. For garden soil, follow local soil-test recommendations rather than copying a container rate.
University of Illinois Extension explains that onions grow best in well-drained soil and that early weed control matters because young plants compete poorly. The same general principle applies in a pot: remove volunteer seedlings and debris before they crowd the crop.
Regrow a grocery base in water
Choose a fresh, firm base with intact white tissue and visible roots. Discard slimy, moldy, or foul-smelling material rather than trying to revive it.
- After using the leaves, retain the white base and roots.
- Rinse away loose debris and place the base upright in a clean shallow glass.
- Add enough potable water to cover the roots and lowest base, not the cut green tissue.
- Put the glass in bright light without letting it overheat.
- Replace cloudy water, rinse the glass, and check for soft tissue.
- Snip new greens when they are usable, understanding that later flushes may be smaller.
University of Illinois Extension Eat.Move.Save. demonstrates placing rooted green-onion bases in shallow water near a sunny window. Another Illinois Extension green-onion project moves the regrowing base into soil, which gives roots access to a medium rather than leaving the plant in water indefinitely.
Water regrowth does not make the base sterile or self-sustaining. Use a clean vessel, avoid crowding many bases into one stagnant glass, and discard decaying tissue. Do not add fertilizer to a drinking glass on the countertop.
Transfer a healthy base to soil
Once a base has firm new leaves and functioning roots, it can move into a draining pot. This does not guarantee a permanent plant, because its species, original harvest, and condition are often unknown.
- Fill a small pot with damp container mix.
- Make a hole wide enough for the roots instead of folding them upward.
- Set the base so roots are covered and the green neck remains above the medium.
- Firm gently, water to settle, and drain.
- Keep it in bright light while it adjusts.
Avoid burying the entire white and green base. Watch for softening after the move and do not keep the pot saturated simply because the plant came from water.
How much regrowth to expect
Seed-grown bunching onions can be pulled whole when they reach a useful size. They also can supply some cut greens, but every cut removes photosynthetic area. Leave enough healthy foliage for recovery and compare regrowth before cutting again. University of Minnesota Extension recommends pulling scallions at usable size; its repeated-cut guidance applies specifically to established walking onions beginning in their second season, not automatically to every scallion in a glass.
Use clean scissors and harvest what will be used. If leaves become progressively thinner, pale, or slow, review light, root space, and the age of the planting. Starting a new seed batch may be more productive than pushing a depleted base.
Diagnose the common failures
Pale, floppy leaves: First check usable light and crowding. A nitrogen deficiency is possible, but appearance alone does not prove it.
Soft base or unpleasant odor: Discard the base. In soil, review drainage and watering; in water, review submersion depth, cleanliness, and crowding.
Dry leaf tips: Check severe dry-down, heat at the window, salt buildup, and root condition before increasing water frequency.
No regrowth from a scrap: The basal growing tissue may have been removed or the base may have exhausted its reserves. A new healthy base or seed sowing is a better next step.
Outdoor yellowing or wilt: Inspect roots and stems for onion maggot damage or rot and seek local diagnostic help. Do not apply a pesticide until the problem is identified and the product label includes onions and the target pest.
Keep batches understandable
Label seed-grown scallions with the species or cultivar, sowing date, and container. Label scrap-grown bases separately so their short-term performance is not confused with a seed crop. The optional Printable Plant Labels include seed-start and pot-card formats, but a waterproof marker and plain stake are sufficient.
The most reliable green-onion plan is modest: use scraps for a quick regrowth experiment, and use seed or healthy transplants for sustained production. Strong light, drainage, clean water, and accurate identity matter more than the promise of “free onions forever.”
Sources
- Growing Scallions in Home Gardens (University of Minnesota Extension). Accessed August 28, 2026.
- Onions (Bunching) (Oregon State University Extension Service). Accessed August 28, 2026.
- DIY: Regrowing Green Onions (University of Illinois Extension). Accessed August 28, 2026.
- Regrowing Scrap Veggies (University of Illinois Extension Eat.Move.Save.). Accessed August 28, 2026.
- Onion (University of Illinois Extension Home Vegetable Gardening). Accessed August 28, 2026.
- Growing Vegetables in Containers and Salad Tables (University of Maryland Extension). Accessed August 28, 2026.