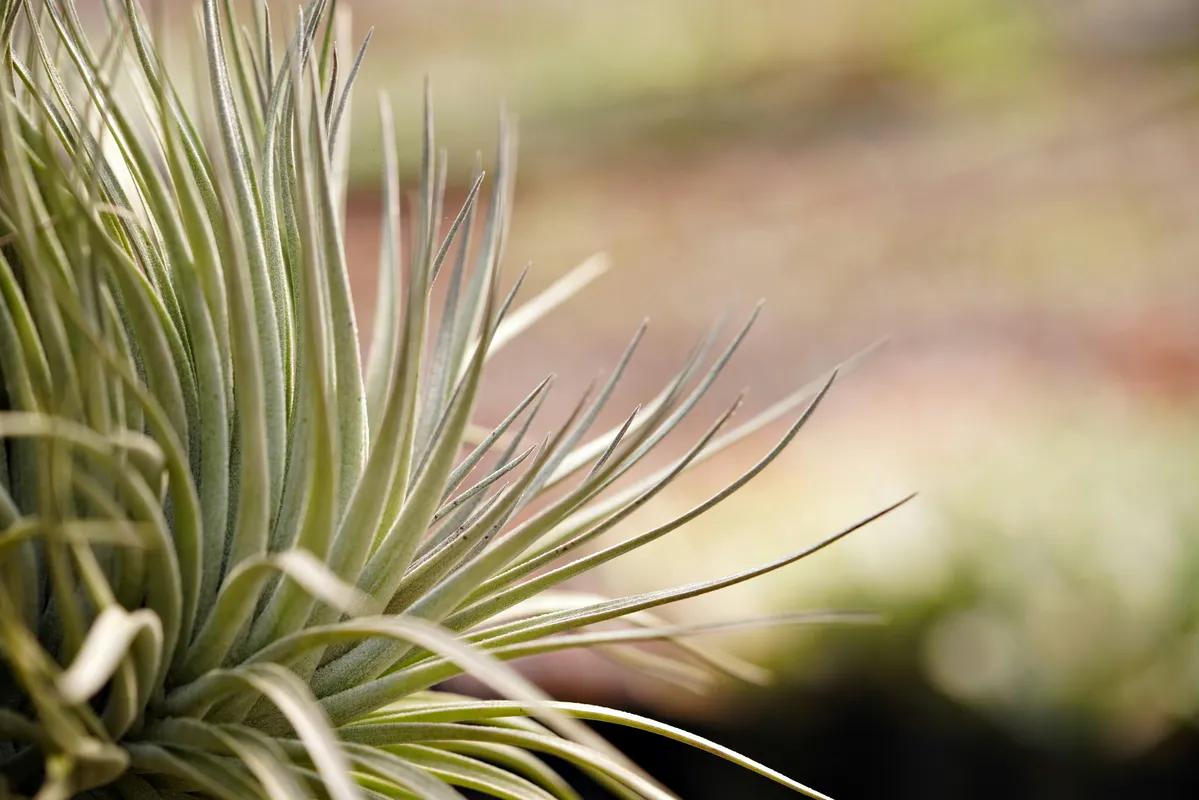
Air plants are bromeliads in the genus Tillandsia. They grow without potting mix, but “air plant” does not mean that indoor air supplies all the water they need. Their leaves collect water and dissolved nutrients, while their roots mainly attach the plant to a branch, rock, or other support. The Royal Botanic Gardens, Kew recognizes hundreds of accepted Tillandsia species across a wide geographic and ecological range. A care rule that suits one species, room, or display may not suit another.
This guide covers the commonly sold, soil-free ornamental tillandsias. A terrestrial bromeliad growing in a pot, Spanish moss outdoors, and a mounted plant in a humid greenhouse need different handling. Confirm the plant’s name when possible, then use its appearance and drying speed to refine care.
Start with four connected needs
| Need | Useful starting point | Sign to reassess |
|---|---|---|
| Light | Bright, indirect light appropriate to the species | Bleaching or scorch, or weak growth with little color |
| Water | Thoroughly wet the leaves by a method the plant and display tolerate | Persistent curling or dullness, or a soft dark base |
| Drying | Drain crevices and let the entire plant dry promptly | Water remains in the crown or against a mount |
| Airflow | Open space with gentle room circulation | A closed vessel stays damp or develops condensation |
Iowa State University Extension emphasizes bright indirect light, substantial watering, and thorough drainage after watering. These factors work as a system. Stronger light and warmer air can speed drying and raise water demand; a cool, dim location slows both growth and evaporation. Change the method or interval only after checking all four.
Identify the plant’s moisture strategy
Silvery, fuzzy-looking species have conspicuous trichomes, the scales that intercept water on the leaves. Many come from relatively exposed or seasonally dry habitats. Greener, smoother plants often come from more humid, sheltered habitats and may lose water faster indoors. These “xeric” and “mesic” groupings are useful clues, not a complete identification system.
University of New Hampshire Extension explains that desert-adapted and rainforest-adapted tillandsias differ in light, humidity, and watering needs. A silver plant should not automatically receive the same long soak as a green plant, and leaf color alone cannot settle every case. Look up the species, keep the plant label, and observe how quickly leaves return to their usual shape after watering.
Tillandsia ionantha is one familiar example rather than a model for the entire genus. The North Carolina Extension Gardener Plant Toolbox describes it as an epiphyte that needs regular thorough watering, bright indirect light, and removal of excess water from the leaves. Apply species-level advice only to a plant whose identification is reasonably secure.
Provide usable light
Begin near a bright window where the plant is protected from intense, hot midday or afternoon sun. Window direction is only a starting clue: season, latitude, trees, screens, glass, and distance from the window all change the light reaching the leaves. A spot that works in winter may become too intense in summer.
Move a plant gradually when increasing light. Pale bleached patches or crisp areas on the most exposed side can follow excess heat or sun, while a plant kept too dim may grow weakly and fail to develop normal flowering color. Existing damaged tissue will not turn green again, so judge a change by undamaged new growth.
An electric grow light can support a location that is otherwise too dark, but fixture output and distance matter more than a generic hour count. Follow the light maker’s plant-use guidance, keep leaves away from hot equipment, and give the plant a daily dark period. For help choosing a fixture, see the houseplant grow-light guide.
Choose a watering method, then test the result
Rinsing, soaking, and thorough misting all appear in Extension guidance because species, indoor conditions, and displays differ. University of Illinois Extension describes all three methods and places equal importance on draining and several hours of drying. Treat any published interval as an example, not a calendar requirement.
For a plant that can be removed from its display, use this repeatable check:
- Remove wire, decorative moss, or other material that traps water if it can be detached safely.
- Wet all leaf surfaces with room-temperature water. A rinse may be enough for a lightly dehydrated xeric plant; a longer immersion may suit a greener plant that has dried substantially.
- Lift the plant out and let water run from the leaves.
- Turn and gently shake it so water cannot remain at the base or inside a bulbous form.
- Set it in an open, well-ventilated position until the leaves, base, and hidden crevices are dry.
- Return it to display only after checking the side that rested against the surface.
Recheck the plant before the next watering. Rolled or unusually curled leaves, dull color, and very light tissue can accompany dehydration, but old brown tips do not prove that more water is needed. Softness, translucence, dark tissue at the base, or an odor from a plant that stays wet points in the opposite direction. Compare the symptom with recent drying conditions rather than adding another soak automatically.
Water chemistry can contribute to deposits or leaf-tip injury, but a tip alone cannot identify the cause. If repeated residue appears, review the water source, fertilizer use, and drying pattern with the site’s houseplant water-quality guide instead of switching products on a guess.
Make drying part of every watering
Drying is not an optional step after hydration. Water held among leaves keeps tissue wet and creates conditions that favor decay. Drain the plant in more than one orientation, especially when the leaf bases form a cup or the plant has a swollen base. A towel can wick surface water, but it does not remove water sealed inside a crevice.
Use ordinary room air movement rather than a hot hair dryer or a powerful fan aimed at one point. Cool, dim rooms and enclosed displays take longer to dry. In those conditions, shorten immersion, water earlier in the day when the room is warmer, or move the plant to an open drying station. Do not return a wet plant to a closed globe.
Indoor relative humidity changes water demand but does not replace direct watering. Measure humidity before trying to alter it, and avoid making a room damp enough to create window condensation or household mold. The site’s indoor humidity guide covers safe measurement and adjustment.
Build a display around airflow
An air plant can rest on cork, untreated wood, stone, a shallow dish, or an open metal holder. The contact point should dry as readily as the visible leaves. Check natural cavities, absorbent decorative moss, narrow wire loops, and the bottom of glass vessels after every watering.
The University of Florida IFAS Extension describes several display surfaces and also warns against collecting Florida tillandsias from the wild. Obtain plants from a lawful, reputable cultivated source and keep any identification or origin information supplied with them. Never remove a plant from public land, a protected habitat, or another property.
Use a mount that does not pinch or abrade the leaves. If an adhesive is needed, choose a product whose maker identifies it for living-plant mounting, use the smallest amount, and keep it away from growing tissue. A loose tie or removable cradle makes watering and inspection easier than a permanent bond.
Fertilize only as a supplement
Air plants grow without soil, but that does not justify frequent or concentrated fertilizer. If active growth is weak despite appropriate light and watering, use a product labeled for tillandsias or bromeliads at the label’s dilution and interval. Do not substitute garden fertilizer or improvise with household ingredients. Skip fertilizer on a stressed, rotting, or newly damaged plant.
Rinse away visible deposits and reassess if leaf tips worsen after feeding. For help reading nutrient labels and understanding salt accumulation, see the houseplant fertilizer guide.
Understand flowering and offsets
A rosette flowers once, then gradually declines while offsets may develop near its base. That life cycle is normal for bromeliads, but the timing varies widely. Do not discard a post-bloom plant while its leaves remain sound and offsets are developing.
Leave small offsets attached until they have enough leaf area to handle independently. When separation is appropriate, expose the connection, support both plants, and detach at the natural junction with a clean tool if gentle pressure does not release it. An offset without adequate tissue loses water rapidly. Keeping a cluster intact is also a valid display choice.
Troubleshoot the pattern, not one symptom
| Observation | Check first | Response |
|---|---|---|
| Leaves curl more than usual and plant feels light | Time since thorough wetting, room heat, species type | Rehydrate, drain, and compare the response over the next day |
| Brown tips | Drying air, inconsistent water, dissolved salts, physical damage | Review the full care record before changing one factor |
| Soft or dark base | Trapped water and slow drying | Isolate, stop automatic watering, and inspect all affected tissue |
| Pale patch on exposed side | Sun or heat intensity | Move back gradually and monitor new growth |
| Condensation in display | Enclosure and airflow | Remove the plant and use an open display |
| No bloom | Species maturity, light, overall growth | Maintain sound care; do not force flowering with extra fertilizer |
The most reliable routine is simple: identify as closely as possible, provide useful light, wet the plant thoroughly enough for its type, and verify that every surface dries. The observation after watering, rather than a promise of “weekly” or “low maintenance,” determines the next adjustment.
Sources
- Tillandsia L. (Royal Botanic Gardens, Kew). Accessed August 25, 2026.
- All About Air Plants (Iowa State University Extension and Outreach). Accessed August 25, 2026.
- How Do You Grow Air Plants? (University of New Hampshire Extension). Accessed August 25, 2026.
- Tillandsia ionantha (Air Plant) (North Carolina Extension Gardener Plant Toolbox). Accessed August 25, 2026.
- Air Plants (Gardening Solutions) (University of Florida IFAS Extension). Accessed August 25, 2026.
- Air Plants: Tillandsia (University of Illinois Extension). Accessed August 25, 2026.