Give the packet a small trial
An old seed packet presents two possible wastes: throwing away seeds that would grow, or filling a tray with seeds that will not. A small germination test helps you decide before potting mix, space and a planting window are committed.
The useful question is how many seeds in a sample begin growing under suitable conditions. You can check that with damp paper and a covered container. Treat the answer as a guide to your next sowing, with room for uncertainty.
Read the label before adding water
Keep different crops, varieties and packets separate. Record the plant name, packet year and anything you know about storage. A packet kept dry in a cool cupboard has had a different history from one left in a hot shed. Utah State’s storage guidance identifies high temperature and humidity as causes of declining germination and vigor.
Look for a germination date or percentage, expected days to sprout, temperature, light requirements and any seed treatment. A printed germination result describes an earlier test, not a promise about the packet today. New Hampshire Extension explains what to look for on seed packets.
Use this straightforward method for ordinary untreated vegetable seeds. Specially prepared seed needs its supplier’s instructions. If the packet’s identity is missing, check your purchase records or the supplier before choosing test conditions. Do not identify unknown seed by appearance alone.
Set up a sample you can count
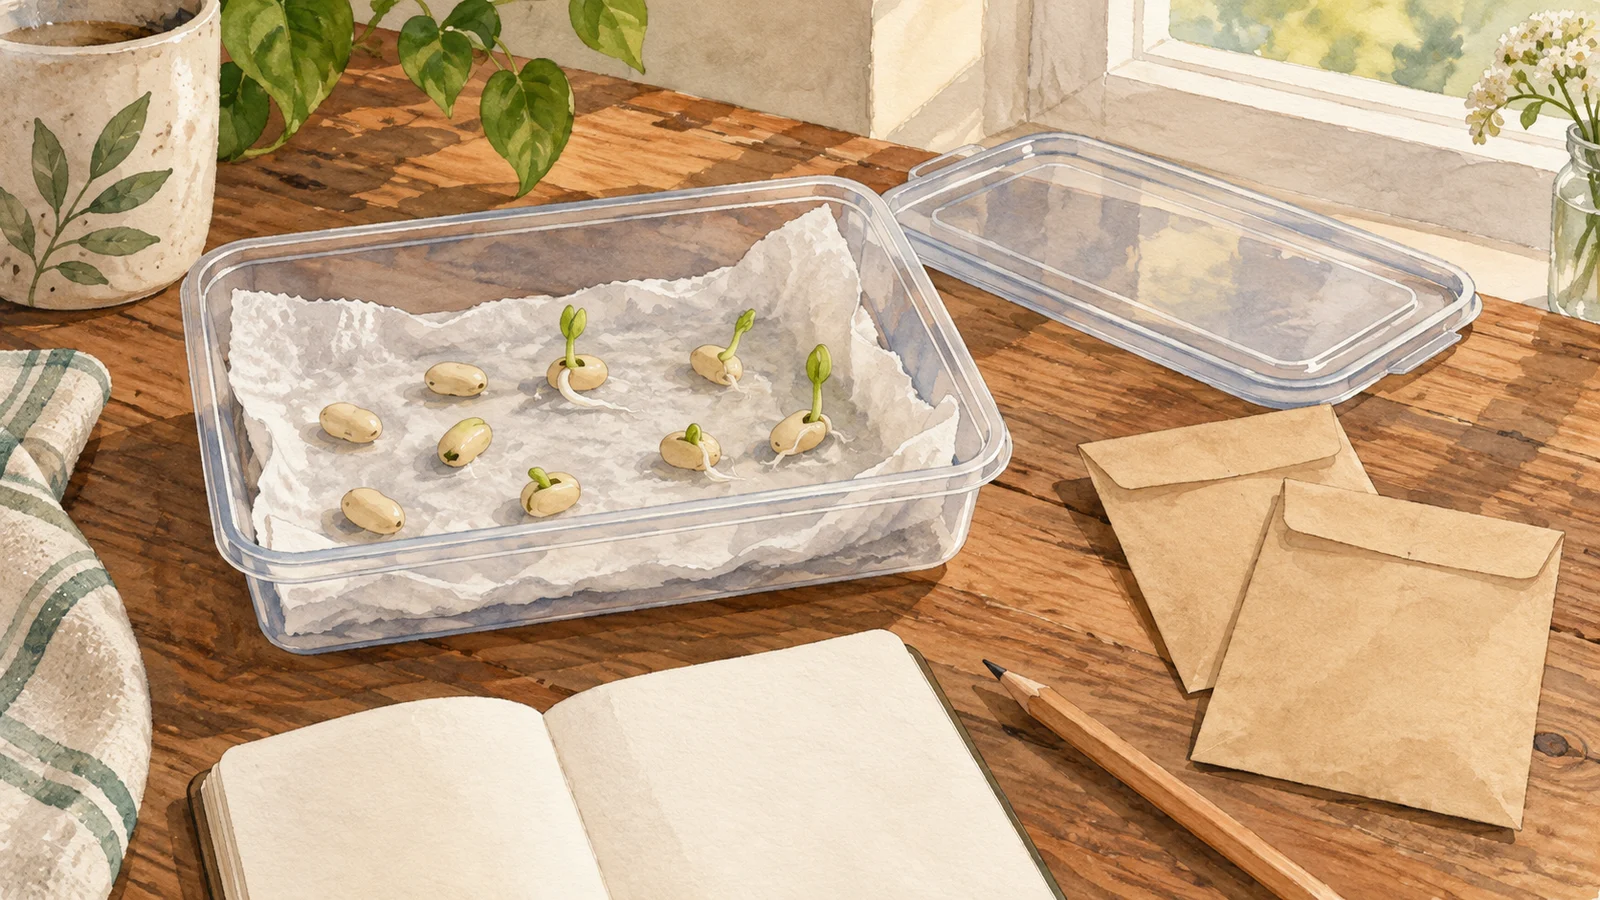
Illinois Extension recommends a simple ten-seed test. That uses little seed and makes the arithmetic easy. Take seeds from the packet without selecting only the largest or best-looking ones. If plenty remain, test a larger sample.
- Label the container. Include the crop, variety, start date and number of seeds. Use a separate container for each packet.
- Dampen a paper towel. Wet it evenly and squeeze out excess water. It should feel moist, without a puddle beneath it.
- Space out the seeds. Leave room to see which seeds produce roots. Fold the towel over them unless the crop requires light to germinate.
- Cover the container. A clean lidded container or closable plastic bag helps retain moisture. Keep the remaining dry seeds outside the test.
For a crop that needs light, arrange the seeds on the paper surface under a clear cover. Use the packet’s directions for both light and temperature. Utah State’s germination guide explains why these requirements vary. Keep the covered test out of direct sunshine, where it can overheat.
Keep a daily count
Open the container daily to check moisture and look for emerging roots. Add a little water if the paper begins drying; do not leave the seeds submerged. Note any interruption, such as a dry towel or an unusually cold night.
Count each seed when a root visibly emerges. Record it and remove the counted seed so it cannot be counted again. Utah State’s testing instructions use this root-emergence method.
Give the crop its expected germination period and continue while new roots are appearing. Packet ranges are estimates: seeds can sprout before or after them. A fast radish and a slow pepper should not share an arbitrary deadline. Write down the final count and the time the test took.
Turn the count into a planting decision
Divide the number that sprouted by the number tested, then multiply by 100. For example, if 16 of 20 tested seeds sprout, the sample’s germination is 80%.
Keep the fraction beside the percentage. “8 of 10” tells you more about the size of the trial than “80%” alone. In a ten-seed sample, a single seed changes the result by ten percentage points. If the decision matters and enough seeds remain, repeat with a fresh sample before discarding a valued packet.
Use the result alongside your schedule:
| What happened | A useful next move |
|---|---|
| Most seeds sprouted readily | Use the packet, following normal crop spacing and seedling care. |
| Some sprouted, but many did not | Retest if conditions were uncertain; otherwise allow extra seed or choose a fresher packet. |
| Few or none sprouted | Check the test conditions before deciding the seed is unusable. Replace it if a delayed sowing would be costly. |
Extra seed may mean more thinning later. A low result is particularly inconvenient when you need a specific number of transplants by a fixed date. A packet with an uncertain result can be an optional trial while dependable seed fills the main tray.
A root is only the beginning. Oregon State’s Seed Laboratory assesses normal seedlings under favorable conditions in formal germination testing. Your small paper-towel count does not establish that every sprouted seed will become a sturdy plant, or that the same percentage will emerge outdoors.
When a poor result needs another look
Before blaming age, review the temperature, moisture and light. A dried towel, saturated setup or unsuitable temperature makes the test harder to interpret. Correct the condition and use a fresh sample if the packet warrants another attempt.
Dormancy is another possibility, especially if you extend this method to perennial flowers or woody plants. Some living seeds need particular pretreatments before they germinate. New Hampshire Extension describes this distinction; obtain instructions for the actual species rather than assuming every seed responds to a week on warm paper.
Germination also answers only one question about saved seed. It does not confirm freedom from disease or predict the traits of plants grown from seed saved from a hybrid. Minnesota Extension explains both limitations. Keep the seed’s origin and the parent plant’s health in mind even after a good result.
Put the useful packets back carefully
Keep dry leftovers in their labeled packets, fold the openings securely, and put them inside a tightly sealed container in a cool location. Iowa State Extension recommends this arrangement to preserve identity and reduce moisture exposure. Refrigerated seeds need a reliable seal against humidity.
Add the test date, count and decision to the packet or your seed list. Keep the wet test material separate from stored seed. Next time you plan a sowing, you will have a useful note, such as “8 of 10 sprouted; retest before the main planting,” instead of another year of guessing from the packet’s age.
Sources
- Are My Seeds Still Good? Testing Seed Germination (University of Illinois Extension). Accessed September 15, 2026.
- Starting Plants From Seed (University of New Hampshire Extension). Accessed September 15, 2026.
- Collecting and Storing Seeds from Your Garden (Utah State University Extension). Accessed September 15, 2026.
- Starting Vegetable Seeds Indoors: III. Germination (Utah State University Extension). Accessed September 15, 2026.
- Viability Seed Testing (Oregon State University Seed Laboratory). Accessed September 15, 2026.
- Seed Storage and Handling (Utah State University Extension). Accessed September 15, 2026.
- What Is the Best Way to Store Left-over Flower and Vegetable Seeds? (Iowa State University Extension and Outreach). Accessed September 15, 2026.
- Saving Vegetable Seeds (University of Minnesota Extension). Accessed September 15, 2026.