The tomato worth saving is not necessarily the largest one on the vine. Start with a plant you would want to grow again: useful fruit, a flavor you like and a healthy season. Then check its name. The label can tell you whether next year’s seedlings are likely to resemble the plant that earned the space this year.
A small batch is enough to learn the process. Keep each variety separate from the first cut through the final envelope; wet tomato seeds look much too similar to sort out a mix-up later.
Check the variety and the plant
Choose an open-pollinated variety when you want a reasonably consistent return. A packet marked F1 or hybrid describes a different situation: saved seed may grow, but the resulting plants can vary from the parent. That can be an interesting experiment, provided the envelope says so. Utah State University Extension explains the difference.
A grocery tomato with an unknown name is therefore a poor choice for a predictable repeat. If you still want to try it, label the source and the uncertainty instead of inventing a variety name. A seed packet, nursery tag or original order record gives you a better starting point.
Plant health is a separate check. University of Minnesota Extension advises against saving seed from diseased tomato plants. Bacterial canker can travel on or inside seed, and infected seed need not look abnormal. If this plant had unexplained wilting, lesions or a diagnosed disease, get local Extension advice and choose a healthier seed source. Fermenting off the gel is not a guarantee of disease-free seed.
Pick ripe fruit and label the jar
Choose a fully ripe, sound tomato with the characteristics you want to keep. There is no need to wait for it to rot on the counter. Utah State recommends mature fruit that is not rotten.
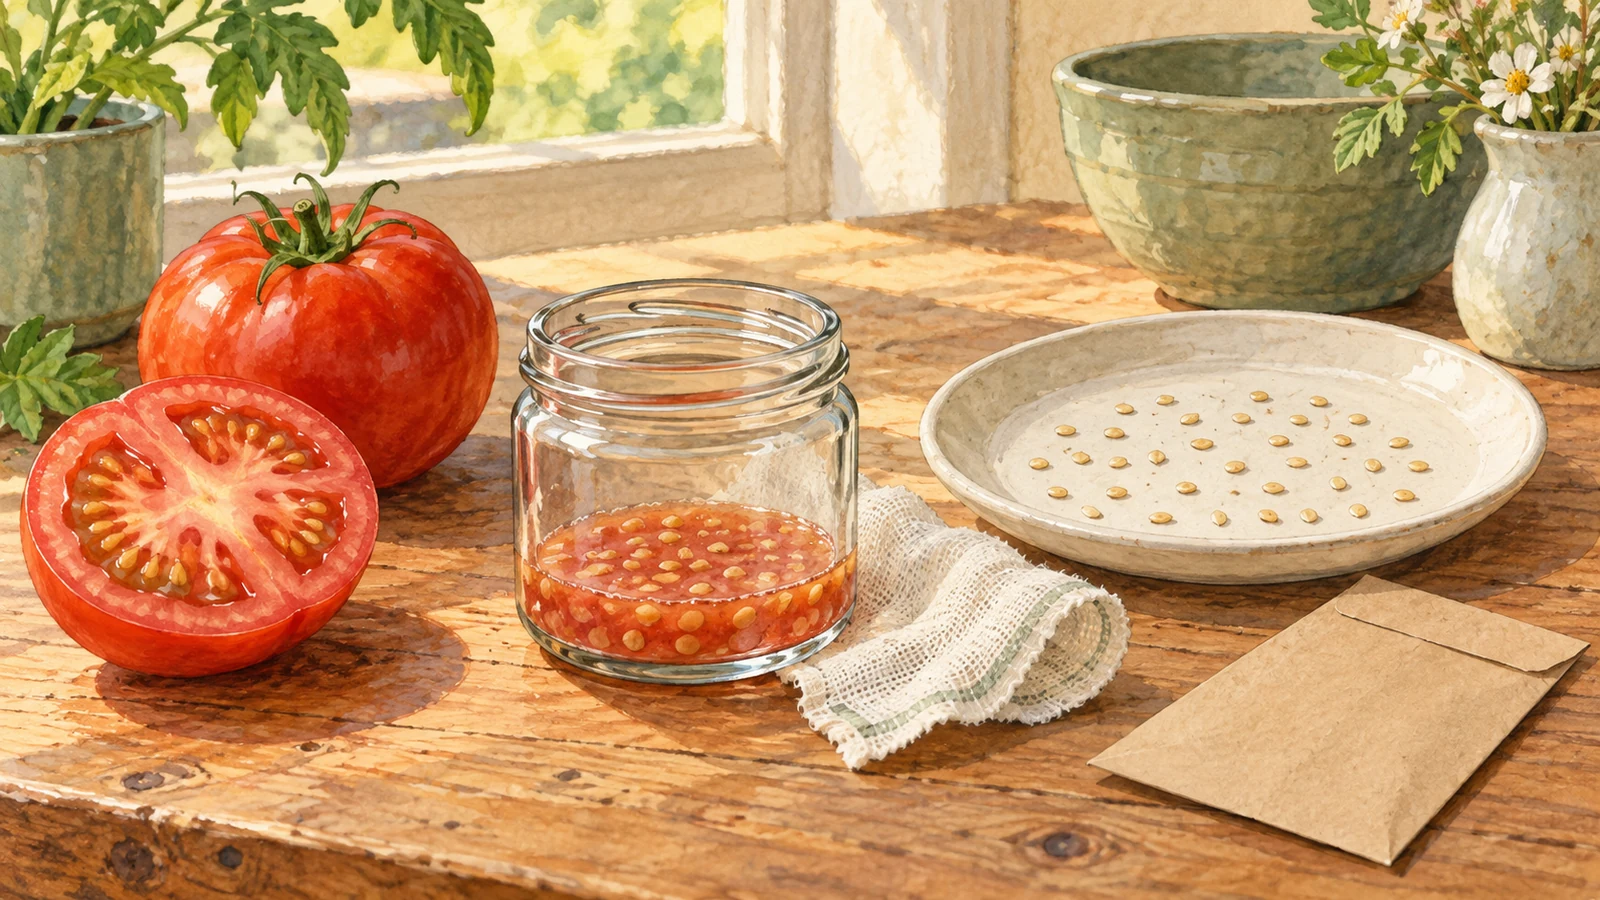
Set out a clean small jar, spoon, fine-mesh strainer and a drying screen or smooth plate. Put the variety name and collection date on the jar before opening the fruit. If you have several varieties, process one at a time and clean the tools between batches. This is also a useful moment to make a short note about why you chose the plant.
Cut the tomato across its middle. Scoop or squeeze the seeds and surrounding gel into the jar. Keep the seed batch away from food preparation and out of reach of children and pets; this container is for planting material, not something to taste.
Let the gel loosen, then rinse
Add a little tap water to the pulp so it can be swirled. Cover loosely to keep insects out and set it out of direct sun where you will remember to check it. Do not screw on a tight lid.
The mixture needs observation, not an unattended week on the windowsill. Minnesota’s method calls for stirring or swirling twice daily and describes seeds settling within about five days. Utah State describes a shorter two-to-three-day soak. Temperature and the batch affect the pace, so use the loosening gel and separating pulp as cues rather than extending the soak to hit a particular day.
Once the gel has broken down, add water, let the heavier seeds settle and carefully pour off the floating pulp. Repeat until most debris is gone, then catch the remaining seeds in the fine strainer and rinse them thoroughly. Seed Savers Exchange illustrates this decanting and rinsing sequence. Work gently so a small batch does not disappear over the rim with the pulp.
Give drying its own space
Spread the rinsed seeds in a thin layer on a clean screen or smooth plate. Separate clumps and keep the label with the drying batch. Good airflow matters; a heap of seeds dries unevenly. Iowa State’s seed-harvesting guide recommends avoiding direct sun and high drying temperatures. Skip the oven, food dehydrator and sunny windowsill.
Ordinary paper towels can hold seeds firmly once dry. A screen or smooth surface makes removal easier. Give the batch several days and inspect it rather than sealing it as soon as the surface appears dry. Seed Savers Exchange describes roughly five to seven days for tomato seeds, with humidity affecting the time. Dry seeds should break cleanly when a spare seed is crushed; a seed that bends or squashes needs more drying. Sacrifice only a few for that check.
Leave room for this step when choosing your start date. If a trip will interrupt the next week, wait until you can tend the batch or ask someone to handle the rinsing and drying. A labeled jar still requires a person to finish it.
Store the seeds, and keep their story short
Once thoroughly dry, put the seeds in a paper envelope inside a sealed container. Choose a cool, dry, dark location with a steady temperature. Seed Savers Exchange’s storage guidance stresses dryness before refrigerated storage; a refrigerator cannot rescue seeds packed while damp. A hot shed or a cupboard beside the stove is a poor choice.
Write enough to make the envelope useful in spring:
- Tomato variety, or “unknown” with the source.
- Collection year and the date the seeds finished drying.
- Whether the parent was open-pollinated, hybrid or uncertain.
- Which plant supplied the fruit, if you kept several separate batches.
- Any uncertainty about crossing with another variety.
Tomatoes commonly self-pollinate, but crossing is still possible. If preserving a named variety matters, plan isolation before flowering next season; Seed Savers Exchange describes bagging unopened blossoms and marking the resulting fruit. Bagging a ripe tomato cannot change pollination that already happened.
Before filling your spring seed trays, use a few seeds for a small germination test. A successful sprouting count helps you plan how much to sow. It does not prove variety identity or freedom from disease, so keep the label and the plant-health decision with the seed all the way to planting.
Sources
- Saving Vegetable Seeds (University of Minnesota Extension). Accessed September 18, 2026.
- Growing Guide: Tomato (Seed Savers Exchange). Accessed September 18, 2026.
- Collecting and Storing Seeds from Your Garden (Utah State University Extension). Accessed September 18, 2026.
- How to Harvest and Store Seeds (Iowa State University Extension and Outreach). Accessed September 18, 2026.
- How to Store Seeds (Seed Savers Exchange). Accessed September 18, 2026.