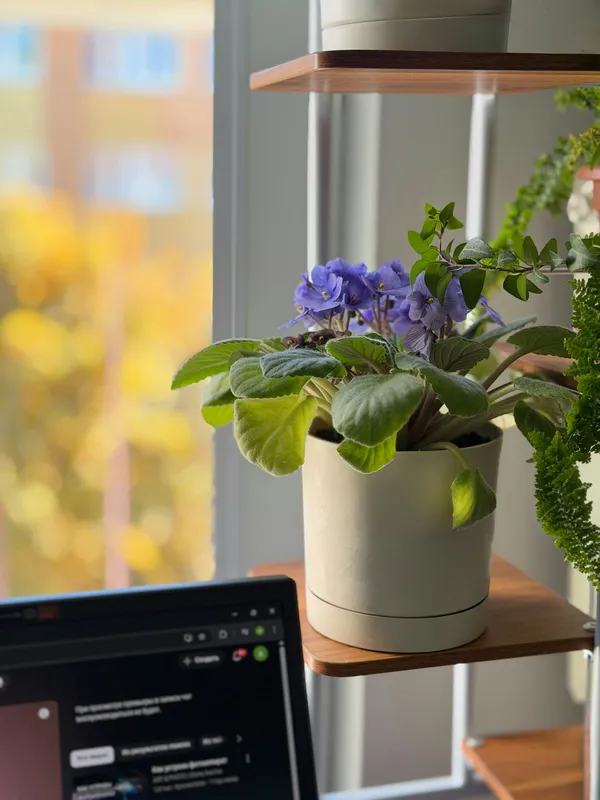
African violets can form adventitious roots and new plantlets from a leaf blade with its petiole, the small stalk connecting the blade to the crown. The method uses little space, but it is not instant: the cutting must remain healthy while roots form below the medium, then support one or more new crowns before the young plants can be separated.
Success depends more on healthy stock, clean handling, an airy rooting medium, and stable conditions than on any exact petiole length or promised number of days. Several Extension methods differ in their measurements and timelines, which is a useful reminder to respond to the cutting rather than a countdown.
Start with a healthy, correctly identified plant
Choose a vigorous African violet without visible mites, insects, spreading leaf spots, crown rot, or severe water stress. Penn State Extension recommends taking propagation material from stock plants free of disease, pests, and environmental stress. Propagating an unhealthy leaf can carry the same problem into a covered, humid setup where it is harder to see.
Select a firm, mature leaf from a middle row of the rosette. The oldest outer leaves may have less useful life remaining, while the smallest center leaves are still developing. The blade should have normal color for the cultivar and an intact petiole. Avoid leaves with translucent patches, soft areas, unexplained rings, or damaged tissue at the stalk.
Leaf cuttings usually resemble the parent, but not every cultivar reproduces every color pattern true from a leaf. Chimeric flower patterns in particular may require a different propagation method. When preservation of a named cultivar matters, verify its propagation requirements with the breeder, registry, or a specialist society before cutting.
Gather a small, clean setup
The basic supplies are:
- a healthy leaf with its petiole;
- a sharp razor, scalpel, or fine pruning blade;
- a small container with an open drainage hole;
- fresh, clean rooting medium;
- clean water; and
- an optional clear bag or propagation cover that will not touch the leaf.
Wash the container and work surface, and clean the blade before each plant. Keep sharp tools away from children and pets. University of Missouri Extension stresses clean containers, tools, and media for houseplant propagation because cut tissue and humid conditions are vulnerable to decay.
Use a fine but porous medium that holds some moisture while retaining air. A packaged seed-starting or propagation mix can work; mixtures based on peat or coir with perlite or vermiculite are common. Do not use garden soil, old potting mix, or a large container filled with dense wet material. Pre-moisten the medium evenly, allow excess water to drain, and fill the pot without packing it hard.
Do not treat one petiole measurement as a guarantee
Published methods use different dimensions. Virginia Cooperative Extension describes leaving roughly 1 to 1½ inches of petiole. North Carolina Cooperative Extension presents a shorter cutting, about ½ inch. Both place a healthy petiole into a light rooting medium.
A practical range of about ½ to 1½ inches keeps the leaf close to the medium without burying the blade. The exact point within that range matters less than making a clean cut and planting the petiole without crushing it. A very long stalk can be unstable; a cut immediately against the blade is difficult to insert.
Mandatory callusing for 30 or 60 minutes is not part of these Extension methods. Leaving the cutting exposed for a fixed period should not be blamed when a petiole later rots. Clean stock, clean tools, suitable medium, moisture, temperature, and sanitation provide more useful troubleshooting evidence.
Root the leaf in medium
This single-medium workflow avoids an extra transition after roots form.
- Remove the leaf cleanly. Support the leaf and cut its petiole near the parent crown without nicking neighboring leaves or the crown itself.
- Trim the petiole. On a clean surface, make a fresh angled cut within the practical length range. The angle increases the cut surface but does not guarantee more plantlets.
- Open a planting hole. Use a pencil or plant label so the medium does not scrape the cut end during insertion.
- Insert the petiole. Place the cut end in the medium and keep the leaf blade above the surface. Firm the mix gently around the stalk. Do not bury the blade or press the medium into a dense plug.
- Settle the medium. Add only enough water to settle it if pre-moistening did not already do so, then let the container drain completely.
- Provide bright, indirect light. Avoid direct sun, which can overheat a covered pot and scorch the leaf.
- Maintain even, light moisture. Check the medium rather than watering by a fixed schedule. It should not stay saturated, and the pot should never stand in runoff.
UF/IFAS Extension describes rooting a leaf and short petiole in a loose medium and keeping conditions moist while new roots and shoots develop. Its guidance also places African violets in bright, indirect light, which supports propagation without the heat risk of direct sun.
Decide whether to use a humidity cover
A loose clear cover can slow moisture loss around a cutting with no roots. Place the pot inside a clean clear bag or under a vented dome, keeping plastic away from the leaf. Label the pot with cultivar and cutting date before closing it.
The cover should not turn the setup into stagnant, saturated conditions. Keep it out of direct sunlight, open it if water constantly streams down the sides, and inspect the leaf base regularly. Remove fallen tissue promptly. A cover is optional in a naturally humid, stable environment and should be opened gradually once plantlets are growing.
Warm, steady room conditions favor rooting, but a hot propagation mat is not automatically helpful. Excess heat can dry a small container quickly or encourage decay in saturated medium. Avoid cold glass, heating vents, and large temperature swings.
Expect a range, not a deadline
Visible progress occurs in stages:
- the petiole begins forming roots below the surface;
- small plantlets arise near its buried base;
- each plantlet develops leaves, a crown, and its own roots; and
- established young plants eventually reach flowering size.
Virginia Cooperative Extension gives an example of roots forming in about three to four weeks and new leaves appearing several weeks later. North Carolina Cooperative Extension describes plantlets emerging around twelve weeks and separation occurring months after the original cutting. UF/IFAS Extension notes that a propagated plant may take roughly six to nine months to flower.
Those are reported examples, not performance promises. Cultivar, leaf age, light, temperature, moisture, and medium all affect timing. A firm green leaf with no visible plantlet may still be rooting. Do not tug on the petiole or repeatedly dig it up to check. New growth at the soil line is safer evidence than a calendar reminder.
If the leaf softens, darkens at the base, or smells abnormal, isolate it from other cuttings and inspect the moisture conditions. A collapsed petiole will not recover. Discard decayed material, clean the container and tool, and start again with healthy stock rather than adding an unproven household treatment.
Water rooting is optional
A leaf petiole can also root in water. Iowa State University Extension and Outreach describes suspending the leaf above clean water with the petiole submerged, then moving it to potting medium after roots are about an inch long. Its guidance notes that roots formed in water are coarser and must adapt after transplanting.
Choose a narrow, clean vessel or a cover that holds the blade above the water. Submerge only the petiole, keep the leaf dry, replace cloudy water, and keep the vessel out of direct sun. Transfer while roots are still manageable rather than waiting for a tangled mass. Pot into pre-moistened, airy medium and keep it evenly moist during the transition.
Water rooting provides a view of root formation, but it adds a water-to-medium transition and does not make propagation faster or more reliable by itself. Starting in medium is the simpler default when the setup can be monitored.
Separate plantlets by development
One leaf can produce a cluster of plantlets. Wait until each plantlet has several usable leaves, a distinct crown, and its own roots. An exact height or leaf count should not overrule weak roots. Separating too early removes the support and shared root system that small plantlets still need.
To divide a ready cluster:
- Moisten the medium lightly beforehand so it is workable, not muddy.
- Slide the entire cutting and plantlet cluster from the pot.
- Tease away enough medium to locate each crown and its roots.
- Separate natural divisions with fingers or a clean blade, preserving roots wherever possible.
- Pot each plantlet into a very small container with fresh African violet mix. Keep the crown at the surface rather than burying it.
- Water gently, drain fully, and return the plantlets to bright, indirect light.
Do not fertilize heavily to accelerate a newly divided plant. Damaged roots need stable moisture and oxygen first. A light humidity cover can be reintroduced briefly if the young leaves wilt, but regular inspection and gradual ventilation remain important.
Troubleshoot from the cutting upward
| Observation | Likely areas to investigate | Useful response |
|---|---|---|
| Petiole becomes soft or dark | Saturated medium, damaged tissue, contaminated tools or stock | Remove the failed cutting and correct sanitation and moisture |
| Leaf stays firm but no shoots appear | Slow rooting, cultivar, cool conditions, or limited light | Keep conditions stable and wait; do not excavate |
| Leaf scorches or cover becomes hot | Direct sun or excess heat | Move to bright indirect light immediately |
| Mold spreads across medium or leaf | Dead tissue, persistent saturation, poor sanitation | Isolate, remove affected material, and increase careful ventilation |
| Plantlets stretch or lean | Insufficient or uneven light | Improve indirect light gradually and rotate the pot |
| Young plants collapse after division | Separation before adequate roots or abrupt moisture change | Use better-developed plantlets and smaller pots next time |
Propagation solves none of the parent plant’s routine care problems. Once plantlets are established, use the African violet care guide to plan their light, watering, potting, feeding, and reblooming care.
Sources
- African Violets (Virginia Cooperative Extension). Accessed August 25, 2026.
- How to Propagate Houseplants by Leaf Petiole Cuttings (Iowa State University Extension and Outreach). Accessed August 25, 2026.
- African Violets (UF/IFAS Extension). Accessed August 25, 2026.
- Home Propagation of Houseplants (University of Missouri Extension). Accessed August 25, 2026.
- Propagating Houseplants (Penn State Extension). Accessed August 25, 2026.
- African Violets Part 2: Propagation (North Carolina Cooperative Extension). Accessed August 25, 2026.