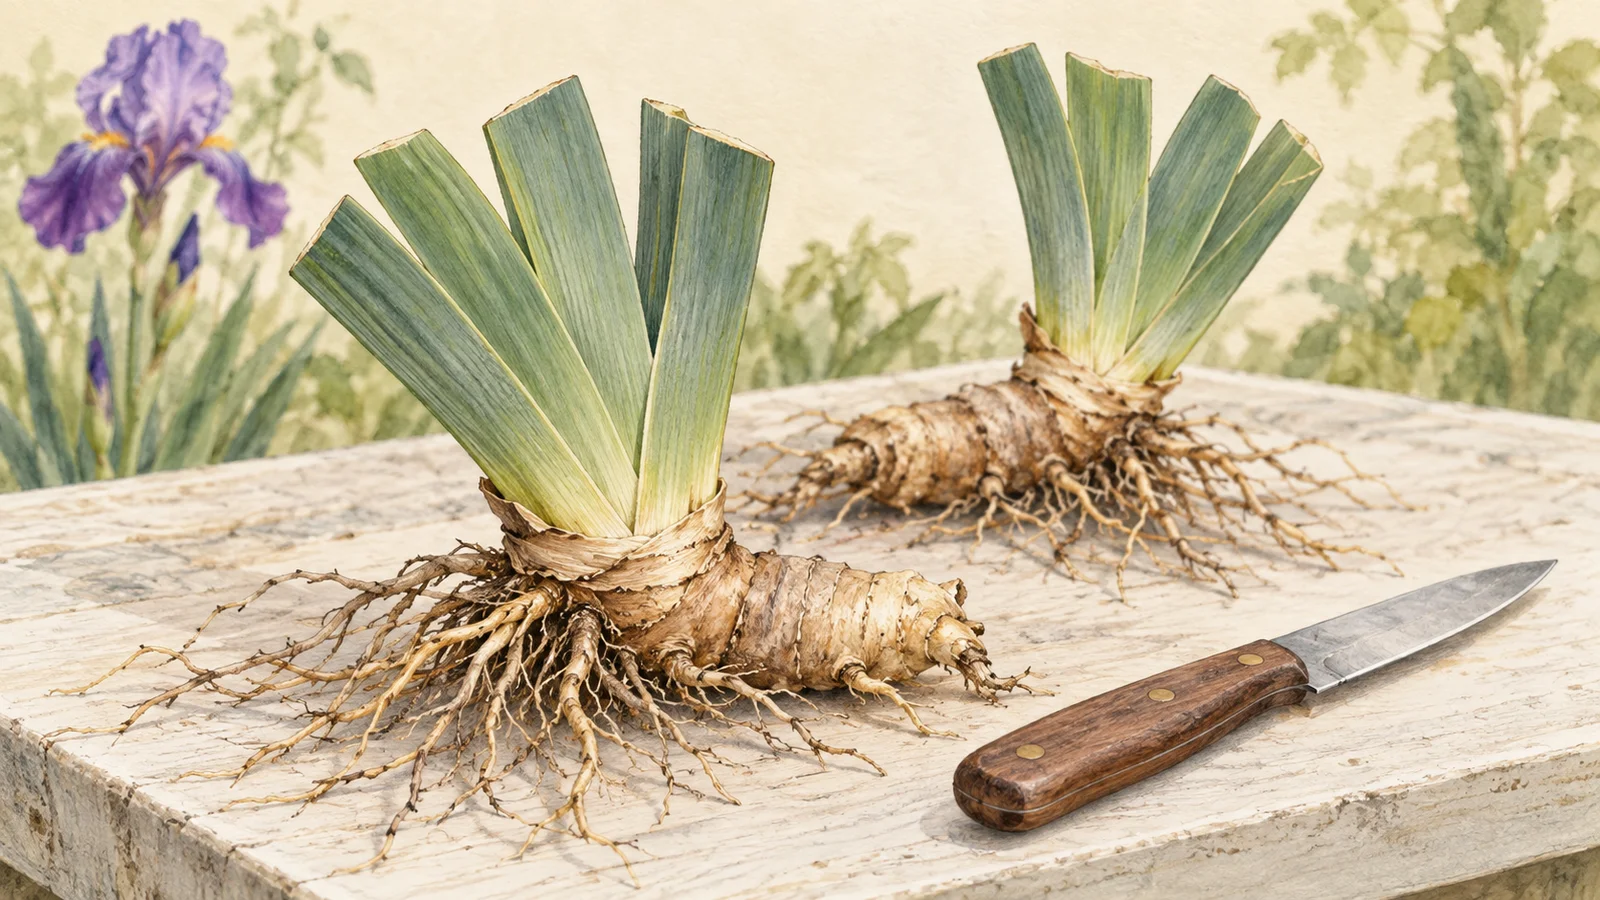
A crowded bearded iris clump can leave you with plenty of leaves and fewer flowers. Dividing it gives the younger rhizomes room to grow, but the job ends with a planting detail that is easy to get wrong: the roots go into the soil while the thick rhizome stays close to the surface.
Before you lift anything, identify the iris and check your local division season. Bearded iris, Siberian iris and bulb-grown iris do not all follow the same routine. A general autumn garden cleanup is not a reason to dig up every iris in the bed.
Find the rhizome and the right season
Bearded irises have fans of blade-like leaves attached to thick, horizontal stems called rhizomes. Their flowers have a fuzzy beard on the lower petals. The RHS border-iris guide shows the distinction from other border irises. A photograph taken during bloom can help you confirm the plant when only foliage remains.
Divide a congested clump after flowering, usually during summer, with enough growing season left for the divisions to establish. Iowa State recommends July or August; Maryland Extension recommends June through July for its region. These are regional windows, not a deadline that moves unchanged from one climate to another.
If you are reading this in late September where winter arrives early, do not assume division should happen now. Check local extension guidance first. You can mark a crowded clump and plan the work for the next suitable post-flowering window. Note its flower color and location while you can still tell it apart from neighboring plants.
Decide whether crowding is the problem
Bearded irises commonly need division every three to five years. Crowded growth and declining flowering are useful clues; the calendar alone is not a command to disturb a vigorous planting. The RHS also notes that these irises dislike wet soil and need a sunny position.
Look at the whole site before making more plants for it. Has a nearby shrub grown large enough to shade the bed? Does water linger there after rain? Dividing a clump and returning every piece to the same wet or shaded patch leaves those conditions unchanged. Choose a freely draining, sunny location before lifting, with space to lay out the divisions without stacking them.
Put labels, a spade or digging fork, a clean sharp knife and a tray within reach. Work through one named variety at a time. A heap of similar-looking rhizomes is much harder to sort after the old clump has disappeared.
Lift, expose and select
Loosen soil around the clump and lift it from beneath with the spade or fork. Remove loose soil so you can see the rhizomes and roots; a rinse helps where heavy soil hides their condition. Shorten the leaves to about one-third of their height, as Iowa State advises, to make the clump easier to handle.
Each retained division needs a healthy young rhizome, roots and a fan of leaves. Look for firm material with a useful root system. Separate natural branches by hand where they come apart readily, or use a clean sharp knife to cut them. Set each sound division on the tray before moving to the next part of the clump.
Discard old leafless sections from the center. Also discard rhizomes that are mushy, foul-smelling or damaged by borers. Illinois Extension describes these warning signs and the young growth worth keeping. Do not pass suspect pieces to another gardener because they happen to have green leaves. Clean and disinfect cutting tools before moving between plants.
Cover the roots, not a mound of rhizome
Dig a hole wide enough to spread the roots and make a low mound of soil in its center. Set the rhizome horizontally on that mound, letting the roots extend down its sides. Fill soil around the roots without folding them into a tight knot. The thick rhizome should finish at or very near the soil surface, rather than at the bottom of a deep planting hole.
The RHS division guide places the rhizome at the surface in heavy soil and allows it a little below the surface in light sandy soil. This small soil-dependent adjustment is very different from burying it like a spring-flowering bulb. Keep the final soil level visible as you backfill.
For ordinary tall bearded iris plantings, Illinois gives spacing of about 12–18 inches. Leave room between the divisions instead of rebuilding the crowded clump you just took apart. Smaller iris types may need less space; use guidance for the particular plant. Keep a label beside each group and take a quick photograph of the layout before foliage obscures it.
Settle them in and watch the soil
Water thoroughly after planting to settle soil around the roots. During establishment, keep the root area moist without leaving it waterlogged. Check the bed during dry weather and after heavy rain instead of committing to a fixed weekly amount. Newly planted roots and an established clump do not have identical watering needs.
Avoid covering the rhizomes with a permanent layer of mulch. Maryland emphasizes keeping the large rhizome exposed. Where local guidance calls for temporary winter protection against frost heaving, remove that covering at the recommended spring time; Illinois specifically warns against leaving it in place as the soil needs to dry.
Expect flowering to be lighter in the first spring after division. Iowa State describes fuller flowering by the second year, but weather and growing conditions still matter. Watch for renewed leaf growth and sound, firm rhizomes while the plants settle in. Keep the division date with the label so next year’s care begins with a record, not a guess.
Sources
- Transplanting and Dividing Iris (Iowa State University Extension and Outreach). Accessed September 29, 2026.
- Irises: dividing (Royal Horticultural Society). Accessed September 29, 2026.
- How to divide and plant bearded iris (University of Illinois Extension). Accessed September 29, 2026.
- Dividing Iris (University of Maryland Extension). Accessed September 29, 2026.
- Border irises (Royal Horticultural Society). Accessed September 29, 2026.