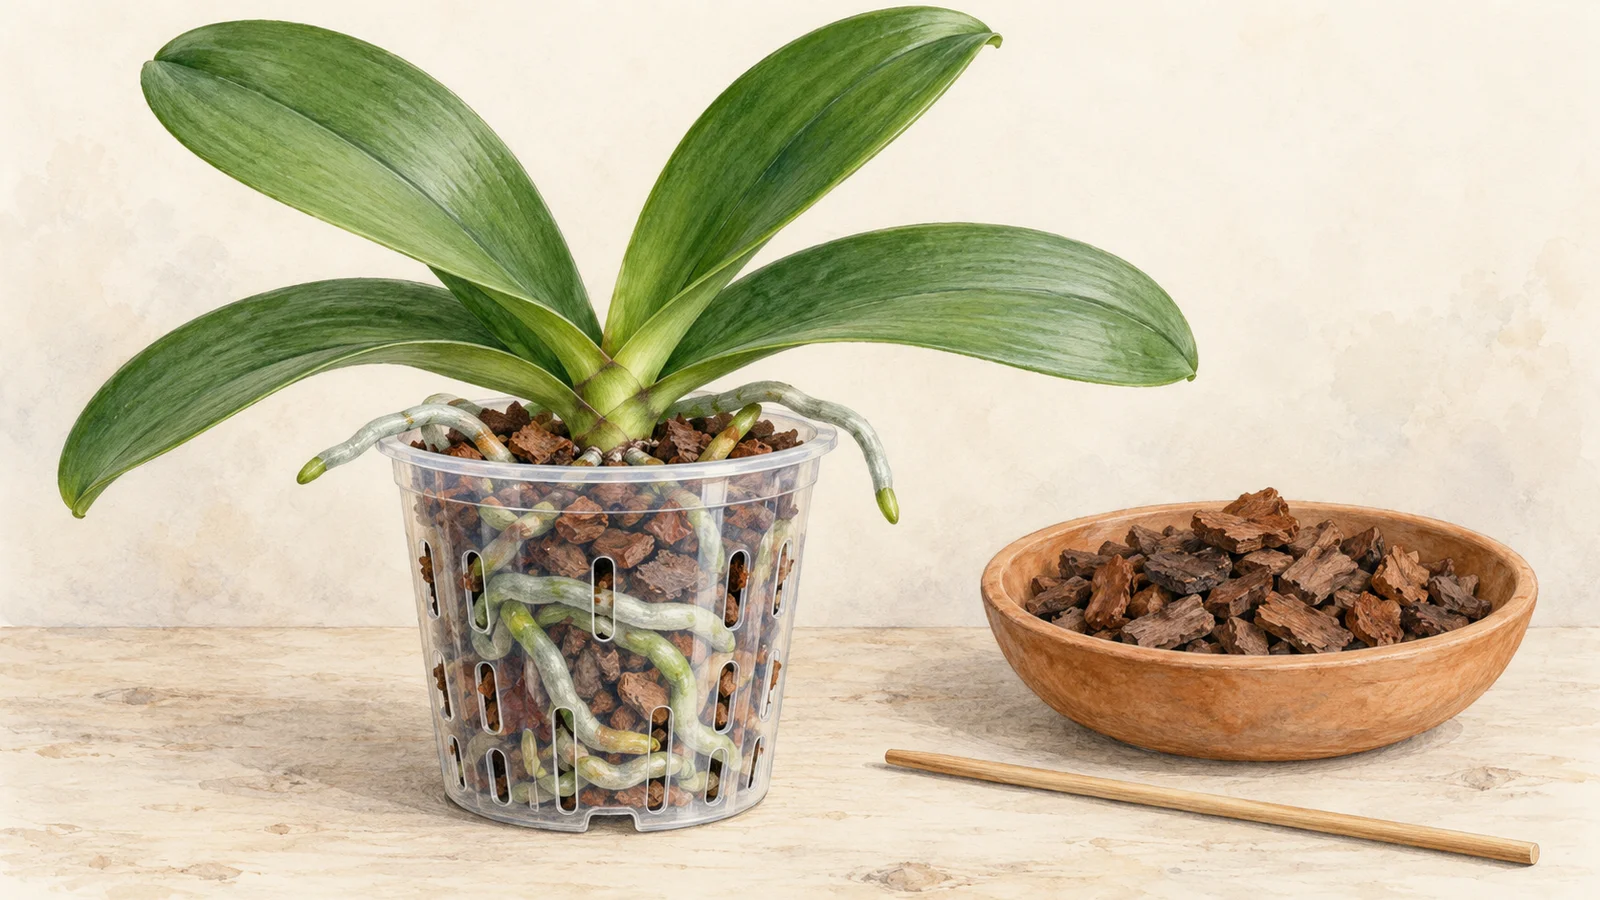
Roots curling over the rim do not automatically mean a moth orchid needs a bigger pot. Phalaenopsis naturally makes aerial roots. The more useful question is what is happening inside: are the roots firm, and does the bark still have distinct pieces with spaces between them, or has it become a damp mass of crumbs?
Repotting gives those roots fresh growing space. For a healthy orchid, choose a time when new roots are starting, preferably after the flowers finish. If the medium is collapsing and roots are rotting, protecting the plant takes priority over keeping every flower.
Read the bark before choosing a date
Lift the draining pot out of its decorative cover and look through its sides and drainage holes. Bark that still consists of distinct chunks is different from material that has softened into something resembling mulch. A pot that stays wet much longer than it used to deserves a closer inspection, especially if visible roots are deteriorating.
University of Maryland Extension identifies broken-down bark, poor drainage and excess moisture retention as repotting clues. Its usual indoor replacement interval is one to two years. Treat that as a reminder to inspect, not a reason to pull apart a healthy plant on an anniversary. The mix, container and watering conditions all affect how quickly that point arrives.
Leave healthy roots outside the pot alone. Their position is normal; trimming them just to make the orchid tidy removes working parts of the plant. Make the decision from the condition of the medium and roots together.
Fit the pot to the roots
Gather fresh orchid medium, a clean draining pot, a bowl for old material, a blunt wooden stick and clean, sharp scissors. Prepare the blades using the pruning-tool cleaning guide before moving from another plant. Keep the clean supplies away from the pile you remove.
The American Orchid Society’s repotting guidance emphasizes choosing a container for the root system rather than the foliage. Replacing exhausted bark may not require a larger pot at all. If healthy roots have filled the available space, move up only enough to accommodate them without crushing or sharply folding them.
A transparent orchid pot makes the roots and moisture easier to inspect. Drainage holes are essential; side slots are useful, too. A decorative outer pot can still be used, provided you can remove the inner pot to water and empty the runoff. Check that fit before beginning so a newly potted orchid is not left balanced on the rim of a too-small cover.
Choose an airy mix you can keep evenly moist
Use a commercial mix intended for moth orchids, commonly based on bark with other components that alter moisture retention. Ordinary houseplant compost is too dense for this job. Do not pack the pot with garden soil or try to replace exhausted bark by adding more fertilizer.
Mix choice and watering habits belong together. The American Orchid Society’s overview of repotting media explains why a coarse mix suits heavier watering, while a more moisture-retentive mix can suit a dry indoor setting. There is no single bark-to-moss ratio that suits every windowsill. Read the mix’s preparation directions, including any soaking instructions, before the orchid comes out of its pot.
Changing from tightly packed moss to bark changes the watering job as well. Make that switch deliberately, with time to check the pot afterward, rather than assuming your previous weekly routine will still fit.
Free the roots slowly
Support the plant at its base and ease the old pot away. Squeeze a flexible pot gently if necessary. If roots are stuck to bark or the container, moisten them and wait until you can separate them with less force. Do not haul the orchid out by a leaf or flower spike.
Remove loose old medium with your fingers, working around the roots instead of combing through them. Iowa State’s repotting instructions recommend a brief soak for dry roots and removal of decayed material. A root that snaps during hurried cleaning cannot be made healthy by pushing it back into the pot.
Trim roots that are soft, hollow or clearly dead. Keep firm, intact roots. Judge texture as well as color: exposed roots can look silvery when dry and greener when wet. Rinse away remaining loose debris so you can see what you are placing in the fresh mix. If almost all the roots have failed, consult the root-rot guide before treating this as an ordinary pot upgrade.
Set the crown above the medium
Place a little fresh medium in the bottom, arrange the sound roots gently and add more around them. Ease bark into gaps with the blunt stick without stabbing the roots or ramming the mix tight. The plant should be steady, with air spaces remaining among the pieces.
Keep the point where roots meet the short stem near the surface, as described in the AOS Phalaenopsis culture sheet. The crown, where the leaves emerge, stays above the medium. Do not bury the leaf bases to make a wobbly plant stand straight, and do not force every aerial root into the container.
Water the newly potted orchid thoroughly and let it drain completely. Keep water out of the crown and leaf joints; if it collects there, blot it away gently. Return the plant to bright, indirect light, away from harsh sun and heating vents.
Fresh bark can dry differently from the material you removed. AOS’s detailed Phalaenopsis discussion describes how bark initially dries rapidly, then changes as it becomes wetted and ages. Check inside the pot before watering again, not only the top chips. Aim for roots that receive water and air, without prolonged sogginess or an extended drought. Record the repotting date on the pot label; the next inspection will be more useful with that small piece of history.
Sources
- Care of Phalaenopsis Orchids (Moth Orchids) (University of Maryland Extension). Accessed October 9, 2026.
- How to Repot an Orchid (Iowa State University Extension and Outreach). Accessed October 9, 2026.
- When should I repot? (American Orchid Society). Accessed October 9, 2026.
- Repotting (American Orchid Society). Accessed October 9, 2026.
- Phalaenopsis Culture Sheet (American Orchid Society). Accessed October 9, 2026.
- Beginner's Series 23 - Phalaenopsis Part 4 (American Orchid Society). Accessed October 9, 2026.