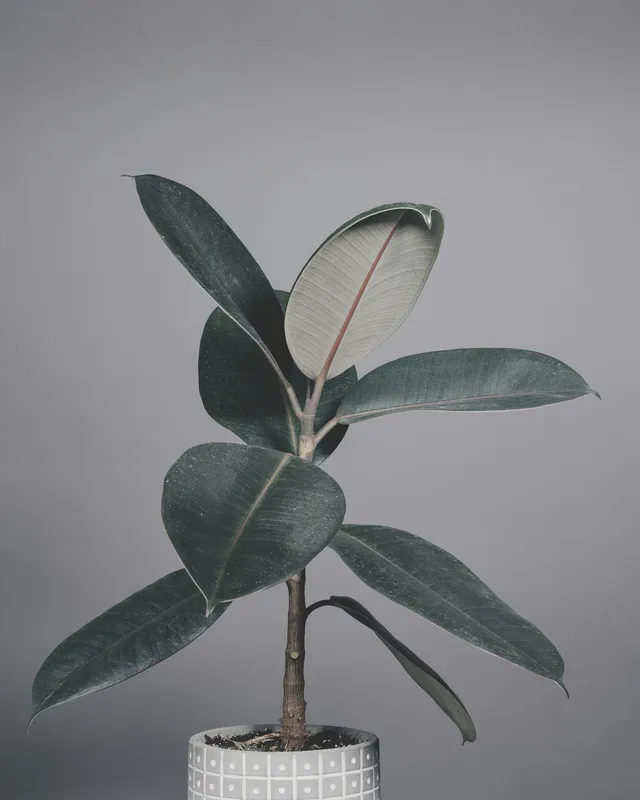
Air layering encourages roots to form on a stem while that stem remains attached to the parent plant. After a usable root system develops, the rooted top is cut free and potted. The attached stem continues receiving water from the parent during rooting, which can reduce the dehydration risk associated with taking a large cutting. It does not eliminate failure, guarantee branching below the layer, or make every houseplant a suitable candidate.
The method is most useful when a healthy, mature houseplant has a sturdy bare stem and a leafy top that would otherwise make an awkward cutting. It can also shorten an overgrown plant while preserving its upper growth. NC State Extension describes layering as rooting a stem while it remains attached and notes that the rooting medium must provide both moisture and air.
Decide whether air layering fits the plant
Start with the botanical identity, not just the plant’s shape. University Extension examples include rubber plant, croton, and dieffenbachia, but those examples do not establish that every thick-stemmed indoor plant should be wounded. University of Illinois Extension specifically presents air layering as an option for large tropical plants that have become tall or lost lower leaves.
A reasonable candidate has:
- a species for which a reputable horticultural source recommends layering;
- a healthy stem that can support the intended top throughout rooting;
- active, unstressed growth and no spreading pest or disease problem;
- enough space around the stem to place and secure moist medium; and
- a parent plant that can remain in stable light, temperature, and watering conditions while the layer develops.
Do not begin with a wilted, recently repotted, badly infested, rotting, or otherwise stressed plant. A thin vine that roots readily at a node may be better handled as a conventional stem cutting. For example, the node-first method in the Monstera propagation guide is simpler than making an unnecessary wound on a small vine section.
The wound also has to match the plant. A hinged slit may be recommended for one type of stem, while a ring of bark may be recommended for a woody dicot. These methods are not interchangeable defaults. Stem anatomy, diameter, species, and maturity affect what can be removed without severing the shoot. Find species-specific Extension or botanical-garden guidance before cutting if the plant is not covered by a reliable procedure.
Gather materials and set up safely
Prepare everything before exposing plant tissue:
- a sharp knife or pruning blade appropriate to the stem;
- clean gloves and eye protection if the plant has irritating sap;
- long-fiber sphagnum moss and clean water;
- clear polyethylene film or a clear bag;
- soft ties or tape that can seal the film without cutting into the stem;
- a stake and soft plant ties if the upper stem needs support;
- rooting hormone only when suitable for the species and allowed by its label; and
- a clean, draining pot and fresh potting medium for the eventual separation.
University of Illinois Extension’s propagation guidance emphasizes clean containers, disease-free media, and sharp sanitized tools. Clean the blade before use and between plants. Stabilize the pot, keep fingers out of the blade path, and cut away from the body. Stake an unstable stem before wounding it; the wrap adds weight, and the partial cut can reduce mechanical strength.
Check sap hazards for the identified species. Rubber plants and other Ficus may release latex when cut. The North Carolina Extension Gardener Plant Toolbox notes that Ficus latex can irritate skin. Wear gloves, prevent splashes into eyes, keep children and pets away from the work area, and wash exposed skin. Do not infer that sap is harmless because a plant is commonly sold as a houseplant.
Handle sphagnum as plant material rather than a sterile craft supply. The Centers for Disease Control and Prevention identifies sphagnum moss as one environment where Sporothrix fungi can occur and recommends gloves and long sleeves for people concerned about exposure to plant matter. Cover cuts, avoid creating airborne dust, wash hands afterward, and follow any more stringent advice from a clinician when immune status or wound risk is a concern.
Choose the layer position
Decide how much of the top can become a stable new plant. Select sound stem tissue below healthy foliage and, where species guidance calls for it, near a node. Avoid a lesion, soft patch, old split, or point that cannot carry the top once wrapped. A very large canopy can place excessive leverage on the wounded area and may overwhelm a small new root system later.
The future cut will be below the rooted zone, so account for the new plant’s proportions and the parent plant’s remaining height. Do not remove leaves simply to imitate a diagram; retain or remove nearby foliage only as the species-specific method requires. Support both the parent and intended top before proceeding.
Make the species-appropriate wound
Air-layering references describe more than one wound pattern:
- Illinois Extension illustrates an upward slanted cut held open before moss is applied.
- Iowa State University Extension and Outreach gives a ring-bark procedure specifically for rubber tree and other woody Ficus.
- NC State distinguishes wound approaches by plant anatomy, so one geometry should not be treated as universal.
Use the pattern and dimensions from a trustworthy guide for the identified species. The general objective is to interrupt tissue at the selected rooting zone without cutting off the stem’s structural and water-conducting connection. Do not deepen or widen a cut because a generic online timeline says rooting should be faster. If the blade slips, the stem folds, or the shoot is nearly severed, stop; attempting to hide a major break inside wet moss can invite decay.
Rooting hormone is optional, not a substitute for correct plant selection and conditions. Some Extension procedures include it, while Illinois Extension notes that many houseplants root without added hormone. If using one, confirm that the product label covers the intended use, wear the listed protective equipment, measure only what is needed into a separate disposable container, and follow the label exactly. Never return contacted powder or liquid to the original package.
Wrap the rooting zone
Moisten long-fiber sphagnum with clean water, then squeeze out free water. It should remain evenly damp and springy rather than dripping or compressed into a waterlogged mass. Place enough moss around the entire prepared area to maintain contact without forcing the wound closed or bending the stem.
Cover the moss with clear film. Close the top and bottom securely enough to slow moisture loss, but do not cinch a narrow tie into living tissue. Keep moss from protruding through the seals because exposed fibers can wick water out. If strong direct sun reaches the package, add a removable opaque outer cover to shade it while retaining access for inspection. Label the layer with its start date and plant identity.
Monitor conditions, not a deadline
Keep the parent in the stable conditions appropriate for its species. Continue normal root-zone watering; pouring water over a tightly sealed air layer does not correct dry potting mix. Periodically inspect the package without repeatedly opening it.
Look for three separate things:
- Moss moisture: pale, crisp moss or a visibly shrinking package suggests drying; standing water, sour odor, or collapsing dark tissue suggests excess moisture or decay.
- Stem health: the top should remain structurally supported and broadly consistent with the parent plant’s condition. Sudden wilt, a spreading dark area, or a loose stem requires prompt assessment.
- Root development: early callus or a few short roots are evidence of activity, not necessarily a self-supporting root system.
Published examples range from several weeks to several months even within common houseplants. Those figures are observations under particular conditions, not a countdown. Season, plant health, temperature, light, wound choice, and species all affect rooting. Some layers never produce enough roots. Decide when to separate the layer by its root development and condition, not by a date on the calendar.
If the moss dries but the stem remains healthy, open only enough to re-moisten it with clean water, then reseal. If the package contains decaying tissue, remove the moss and film, assess the plant outside the wrap, and discard contaminated material. Recutting an unhealthy wound without diagnosing the cause can enlarge the problem.
Separate only when the roots can support the top
Wait until multiple healthy roots have spread through the moss well enough to hold it together and supply the size of shoot above. Root color varies by species and age; volume, distribution, firmness, and absence of decay matter more than one color rule. When uncertain, leave a healthy, moist layer attached longer or consult a local Extension office with clear photographs.
Prepare the new pot before cutting. Use a draining container only modestly larger than the moss-covered root mass and a fresh medium suited to the species. Have a second person support a heavy top. With a clean, sharp tool, sever the stem below the rooted zone without cutting through the new roots. Remove film and ties carefully, but do not strip sphagnum from delicate roots merely to make them visible.
Pot at a depth that supports the rooted stem without burying excess trunk. Firm the medium lightly, water to settle it, and let the pot drain. Stake the new plant if the small root system cannot yet anchor the canopy.
Give both plants measured aftercare
Place the new layer in bright indirect light appropriate to the species, away from abrupt heat, cold drafts, and intense sun while roots establish. Keep the medium evenly moist but aerated; a small root system cannot use water at the rate of a mature one. Delay fertilizer until the plant is stable and producing growth. The repotting guide explains why pot size, drainage, and post-potting restraint matter during this transition.
Return the parent plant to its normal position and monitor the cut end. New shoots may emerge below the cut, but timing, number, and occurrence vary. Keep the plant’s usual care steady rather than increasing water or fertilizer to force branching.
Air layering is best understood as a staged propagation method: select a documented candidate, make the correct wound for that plant, maintain a moist and aerated root zone, and separate based on root capacity. The attached stem provides a margin against dehydration; careful identification, sanitation, safety, and aftercare determine how useful that margin becomes.
Sources
- Extension Gardener Handbook: Propagation (NC State Extension). Accessed August 25, 2026.
- Air Layering (University of Illinois Extension). Accessed August 25, 2026.
- How can I propagate a rubber tree? (Iowa State University Extension and Outreach). Accessed August 25, 2026.
- Propagation (University of Illinois Extension). Accessed August 25, 2026.
- Rubber plant - Ficus (North Carolina Extension Gardener Plant Toolbox). Accessed August 25, 2026.
- Clinical Overview of Sporotrichosis (Centers for Disease Control and Prevention). Accessed August 25, 2026.