Kitchen skills
Rice Paper Rolls That Hold Together
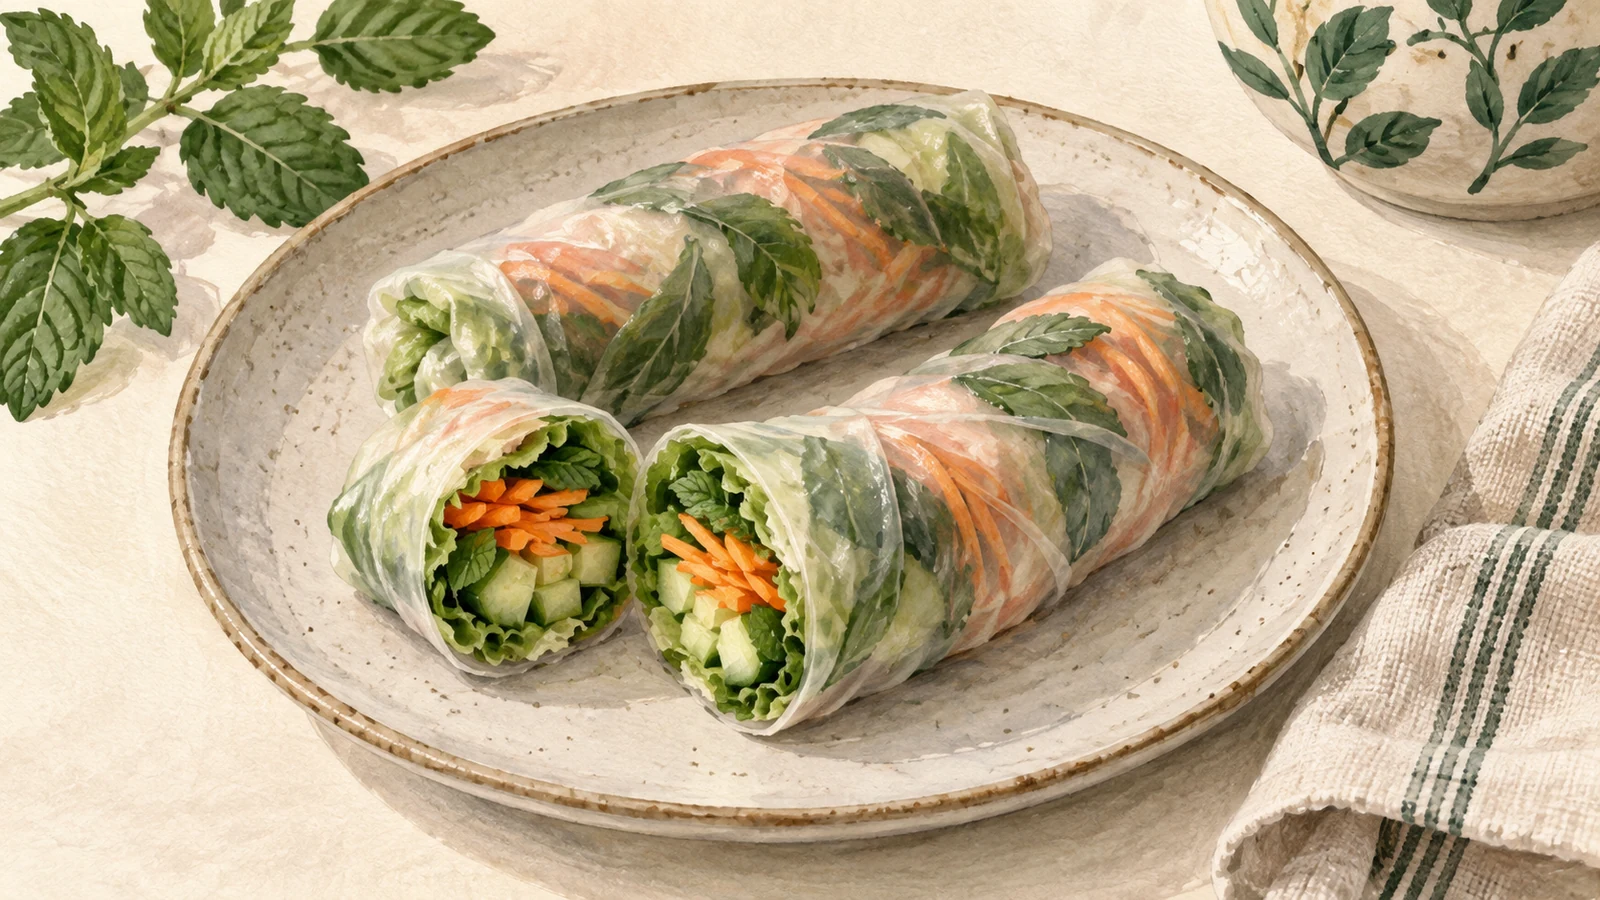
Do not plan to make twelve perfect rice-paper rolls. Plan to make three useful ones. The first teaches when the wrapper is ready, the second teaches how much filling fits, and the third teaches how firmly to roll. By the fourth, your hands know far more than a paragraph can tell them.
This lesson is for fresh Vietnamese-style rolls made with round edible rice paper, roughly 22 cm across, rather than fried spring rolls.
Set the table before the water
Place a shallow dish of water, a smooth clean work surface and a serving plate within reach. Keep the dry wrappers away from splashes. Arrange washed, dried and fully prepared fillings beside the board; a wet wrapper should never have to wait while you chop.
Lettuce, thin carrot and cucumber strips, and mint make a simple practice filling. Cut long pieces short enough to leave room for folded ends, remove hard lettuce ribs and drain everything well. Keep perishable fillings refrigerated until assembly, and cool cooked fillings before they touch a wrapper.
Rice-paper composition varies. Rice-and-tapioca blends and delicate rice sheets can soften at different rates, so start with the packet’s directions rather than assuming every wrapper wants hot water.
Roll one: learn the wrapper
Wet both faces briefly, lift the sheet out while it still feels slightly rigid and lay it flat. The remaining water continues to soften it on the board. Andrea Nguyen’s wrapping guide describes this gradual change.
Wait until an edge bends without cracking and feels lightly tacky. If the whole sheet becomes limp in the water, the dip was too long. Use a fresh sheet for the next attempt and shorten the dip.
Roll two: learn the load
Place a small lettuce leaf across the lower third, leaving a clear border. Gather the remaining fillings into a compact horizontal bundle on top. Nagi Maehashi uses the lettuce as a barrier between pointed vegetables and the wrapper.
Bring the near edge over the filling, fold the two sides inward and roll forward. If the belly bursts, the useful correction is less filling, not more force. A slim closed roll is easier to pick up and eat than an overfilled one.
Roll three: learn the pressure
Hold the bundle together as you move forward, but do not stretch the wrapper as if it were elastic. Let the tacky surface seal against itself. Set the finished roll seam-side down with space around it; fresh wrappers readily stick to each other.
Change one variable at a time on the next roll. Shorten the soak or reduce the filling or roll more gently. Keeping the other choices steady makes the result easier to read.
| What happened | Next adjustment |
|---|---|
| A vegetable pierced the sheet | Cut a thinner strip and tuck its sharp end inside the lettuce. |
| The edge cracked during the fold | Give the next sheet a little more time to soften on the board. |
| The wrapper collapsed into a sticky tangle | Shorten the dip and wet one sheet at a time. |
| The roll opened along the center | Use a smaller bundle of filling. |
| Finished rolls fused together | Leave space between them and avoid stacking. |
Good filling from a torn roll can go onto a clean plate and into a fresh wrapper, or become a small salad. Wrapping the entire bulky roll in a second sheet usually creates a thick, chewy layer.
Fresh rolls are best assembled near serving time. Keep them covered and separated; if dinner is delayed, refrigerate them. Wash produce under running water and keep its board away from raw meat or seafood, following the FDA’s produce guidance. Animal proteins should be fully cooked and handled safely.
Refrigerate perishable fillings and finished rolls within two hours, or within one hour when the temperature is above 90°F (32°C), as directed by FoodSafety.gov. For a longer wait, keep the filling cold and the wrappers dry, then let everyone roll at the table.