Propagate ZZ Plant from Leaf Cuttings: The Slowest (and Most Rewarding) Experiment
Here is the honest truth about propagating ZZ plants from leaf cuttings: it is slow. We are talking months. Possibly the better part of a year.
But here is the other truth: it works. A single glossy leaf, stuck in some soil, will quietly build itself a tiny underground rhizome, sprout roots, and eventually push out a brand new shoot. All by itself. No special equipment. No grow lights. No intervention from you beyond the occasional sip of water.
If you already have a ZZ plant (Zamioculcas zamiifolia), you have all the raw material you need. And if you are the kind of person who enjoys slow, low-effort projects that reward patience - the kind of person who checks on a sourdough starter or watches paint dry with genuine interest - this one is for you.
I started my first ZZ leaf propagation experiment on a whim. I had pruned a leggy stem and the leaves were just sitting on the counter looking too healthy to throw away. Nine months later, I had four tiny ZZ plants. Total cost: zero dollars. Total effort: almost zero. Total satisfaction: unreasonably high.
Why Leaf Cuttings Instead of Division?
If you have read the guide on dividing ZZ plants, you know that division is the faster method. You unpot the plant, separate the rhizomes, and repot them. Done in an afternoon.
Leaf propagation is different. It is slower, but it has advantages:
- You do not disturb the mother plant. No repotting, no root trauma, no recovery period. Just pluck a few leaves and walk away.
- You can make dozens of new plants from one stem. Each leaf is a potential new plant. A single pruned stem can give you 8-12 cuttings.
- It is a great project for kids. My daughter checks our propagation tray every Sunday morning. She named one of the leaves “Gerald.” Gerald is doing well.
- It teaches patience. In a world of instant everything, there is something grounding about watching a plant take six months to do its thing.
What You Need
This is a refreshingly short list:
- Healthy ZZ plant leaves (at least 5-10 for best odds)
- Small pot or seed tray with drainage holes
- Well-draining potting mix (regular potting soil mixed 50/50 with perlite works great)
- A warm spot with bright indirect light
- Optional but helpful: a seedling heat mat
That is it. No rooting hormone needed. No special containers. No misting bottles or humidity domes. ZZ plants are succulents at heart - they store water in their thick leaves and rhizomes, so they do not want the fussy humid environment that tropical cuttings crave.
Step 1: Choose Your Leaves
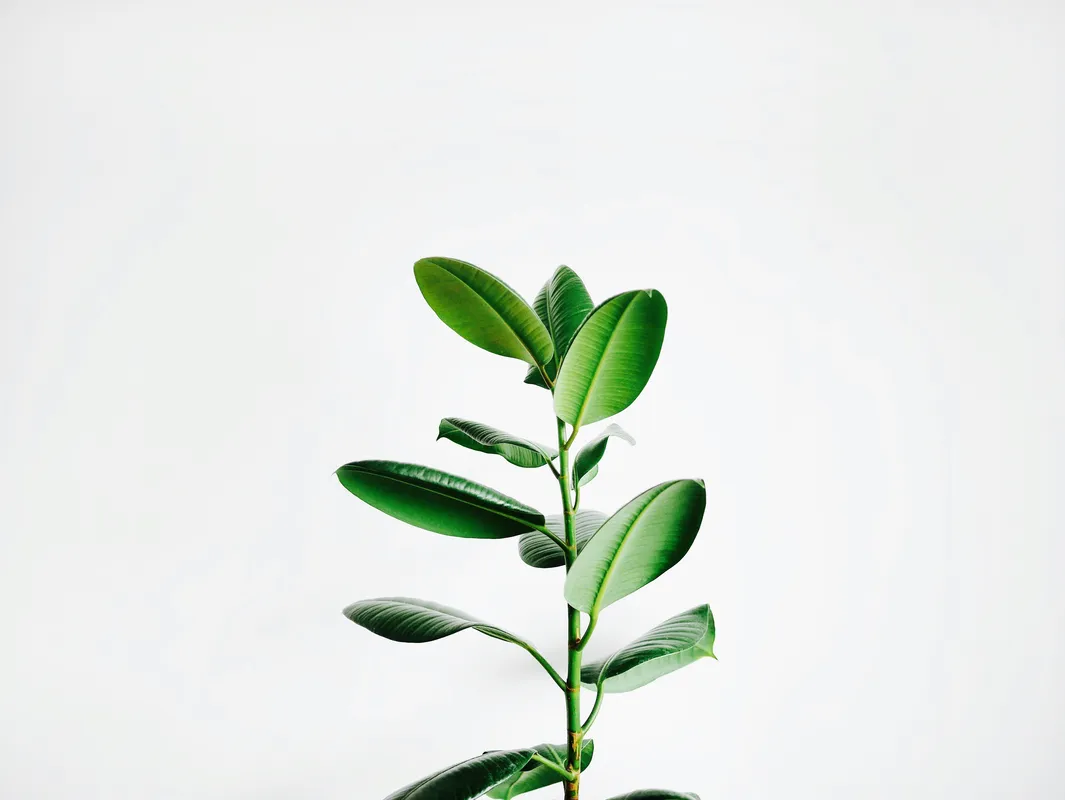
Pick healthy, mature leaves from the middle or lower portion of a ZZ stem. You want leaves that are:
- Firm and glossy. Not yellowing, soft, or wrinkled.
- Fully grown. Skip the tiny new leaves at the top of a stem - they have less stored energy.
- Undamaged. No brown spots, no pest damage, no tears.
To remove a leaf, grasp it near the base where it connects to the stem and gently wiggle it back and forth. You want a clean separation that includes the very base of the leaf - that little nub where it attached to the stem is where the new rhizome will form. If you tear the leaf and leave that base behind, your success rate drops significantly.
You can also use a clean, sharp knife to cut leaves off a pruned stem. Just make sure each leaf retains about half a centimeter of the petiole (the tiny stalk connecting the leaf to the main stem).
Pro tip: Take more cuttings than you think you need. Not every leaf will succeed, and having 10-12 going at once gives you much better odds of ending up with several healthy new plants.
Step 2: Let Them Callus
This step is easy to skip and important not to.
Lay your leaves on a paper towel or plate in a dry spot for 1-2 hours. You want the cut end to dry slightly and form a thin callus. This seal helps prevent rot when the leaf goes into soil.
You do not need to wait days like you would with a succulent leaf. ZZ leaves are thick but they are not cacti. A couple of hours is plenty.
Step 3: Plant the Leaves
Fill your pot or tray with your soil mix. Moisten it lightly - damp but not soggy. Think wrung-out sponge.
Insert each leaf about 1-2 centimeters deep into the soil, cut end down. Angle them slightly (about 45 degrees) so they are leaning rather than standing straight up. This keeps them stable without burying too much of the leaf.
Space them a few centimeters apart. They do not need much room since all the action is happening underground.
Soil vs. Water Propagation: You will see guides recommending water propagation for ZZ leaves. I have tried both. Soil wins. ZZ leaves in water tend to rot before they form rhizomes, especially if you are not changing the water frequently. The forming rhizomes are delicate and do not love sitting in standing water. Stick with soil - it is more forgiving and produces stronger roots.
Step 4: Find the Right Spot
Your propagation tray wants:
- Bright indirect light. Near a window but not in direct sun. Direct sun will cook the leaves.
- Warmth. This is the single biggest factor in how fast your cuttings develop. At typical room temperature (68-72F), expect very slow progress. At 76-90F, things move noticeably faster.
- No drafts. Away from AC vents and open windows.
If you have a seedling heat mat, this is where it shines. Setting one under your propagation tray keeps soil temperatures consistently warm and can cut your timeline in half. These mats cost around fifteen dollars and are one of the best small investments for any plant propagator.
Step 5: Wait (The Hard Part)
Here is your realistic timeline:
Weeks 1-4: Nothing visible happens. The leaf is alive and working, but all the action is underground. The cut end is slowly forming a tiny, hard, potato-like rhizome. Do not dig it up to check. Seriously. Leave it alone.
Months 2-4: If you gently tug a leaf and feel resistance, that is a great sign - it means roots or a rhizome have formed. Some leaves may start to look slightly less perky. That is normal. The leaf is transferring its stored energy into building the rhizome.
Months 4-8: Depending on temperature and conditions, you may see the first tiny green shoot emerge from the soil next to the original leaf. This is the moment. This is the payoff. The original leaf may be yellowing or shriveling at this point, which is completely expected - it has done its job.
Months 8-12: The new shoot develops into a small but recognizable ZZ plant with its own stem and leaves. The original leaf may have withered away entirely. You now have a new plant.
Important note on patience: These timelines assume typical home conditions. If your home is cool (below 70F), add several months to each stage. If you are using a heat mat in a warm bright room, you might see faster results. Every environment is different.
Watering During Propagation
Less is more. Way more.
Water lightly when the top inch of soil is completely dry. For most homes, this means watering every 2-3 weeks during the propagation period. Maybe less in winter.
The biggest killer of ZZ leaf cuttings is overwatering. The forming rhizome is tiny and sitting in wet soil is a death sentence. When in doubt, wait another few days before watering.
If you see mold on the soil surface, you are watering too much. Scrape off the mold, let the soil dry out completely, cut back your watering schedule, and make sure there is decent air circulation around the tray.
Common Mistakes (And How to Avoid Them)
Checking too often. I know. You want to dig up a leaf and see if anything is happening. Resist. Every time you disturb a cutting, you risk breaking the fragile new rhizome or roots. Check by gentle tugging only, and no more than once a month.
Using leaves without the base. If you snap a leaf off and it breaks in the middle, that leaf will not propagate. The growth point is at the very base where the leaf meets the stem. No base, no rhizome, no new plant.
Overwatering. Mentioned it above but it deserves repeating. ZZ cuttings want neglect. Treat them like you treat that gym membership - check in occasionally but do not overcommit.
Giving up too early. If your leaf is still green and firm after three months with no visible progress, it is almost certainly still alive and working. ZZ propagation is a long game. The leaf can look like nothing is happening for half a year while a healthy rhizome develops underground.
Too much direct sun. Bright indirect light is the sweet spot. Direct sun will sunburn the leaves and stress the cuttings. A north or east-facing window is ideal.
Cold temperatures. Below 65F, ZZ propagation slows to a crawl. If your home gets cold in winter, either use a heat mat or start your cuttings in spring when temperatures naturally warm up.
When to Repot Your New Plants
Once a new shoot has emerged and developed at least 2-3 small leaves of its own, your cutting is ready for its own pot. This typically happens 6-12 months after you started.
Gently remove the new plant from the propagation tray. You should see a small rhizome (it looks like a miniature potato) with roots attached. Handle it carefully - the rhizome and roots are still delicate at this stage.
Pot it in a small container (3-4 inch pot) with well-draining soil. Water it lightly and place it in bright indirect light. From here, treat it like any other ZZ plant - water when the soil is thoroughly dry, feed occasionally during the growing season, and enjoy.
ZZ Varieties You Can Propagate This Way
This method works for all ZZ plant varieties:
- Classic ZZ (green): The standard. Reliable and fast-growing by ZZ standards.
- Raven ZZ (Zamioculcas zamiifolia ‘Dowon’): The one with dark purple-black leaves. Propagates the same way. New growth emerges green and darkens over time.
- Zenzi ZZ: The compact, curly-leaf variety. Slower to propagate than the classic but just as rewarding.
- Variegated ZZ: Rare and expensive, which makes free propagation even more appealing. Note that variegation is not always stable in propagated plants.
The Long View
I will not pretend that ZZ leaf propagation is for everyone. If you want fast results, divide an existing plant or buy a new one. No judgment.
But if you enjoy the process - if you like the idea of turning kitchen-counter leaf scraps into actual living plants over the course of a year - this is one of the most satisfying propagation projects out there. It costs nothing, requires almost no effort, and the success rate is surprisingly high as long as you keep things warm and dry.
Start ten cuttings this weekend. Set them on a shelf. Forget about them for a month. Then check back and see what is happening underground.
That first tiny green shoot poking through the soil? Worth every month of waiting.