Propagate Spider Plant Pups: Free Plants That Multiply Like Rabbits
Spider plants are the best because they do the work for you.
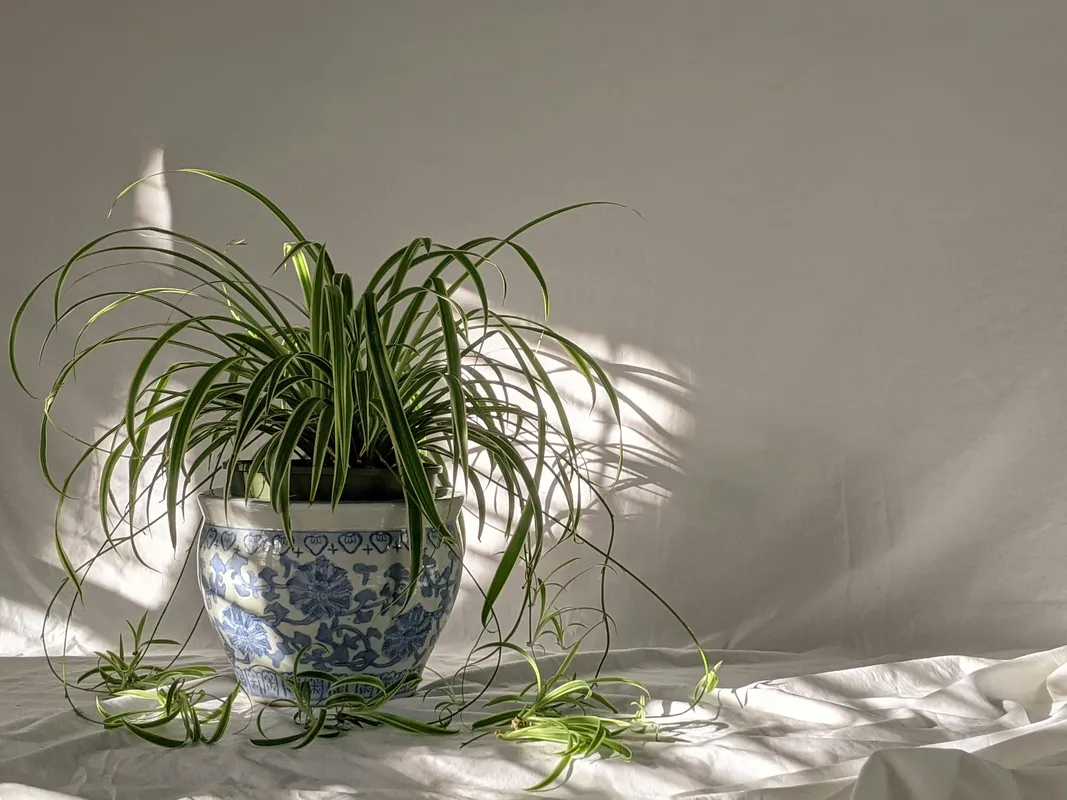
Once a spider plant is happy, it sends out long stems (called runners or stolons) with little baby plants (pups) dangling from the ends. Those pups are ready to become full plants with minimal effort. A single healthy mother plant can produce dozens of pups in a single growing season, which is why spider plants are one of the most shared houseplants in the world.
If you want the satisfaction of propagation without the stress, start here.
Why Spider Plants Produce Pups
Spider plants send out runners as a natural reproduction strategy. In the wild, these pups would touch the ground and root themselves, creating new plants nearby. Indoors, they just dangle and wait for you to do something with them.
A spider plant is more likely to produce pups when it is:
- Slightly rootbound in its pot
- Getting enough bright, indirect light
- Mature (at least one to two years old)
- Experiencing the longer daylight hours of spring and summer
If your spider plant is not producing pups, it may need more light or may need to grow a bit more before it starts reproducing.
When a Pup Is Ready
Look for:
- Small nubs or tiny roots forming under the pup (these look like small white or brown bumps)
- A pup that is at least a couple inches wide with its own set of leaves
- Multiple leaves on the pup, not just one or two
You can propagate earlier, but bigger pups root faster and have a higher success rate. A pup with visible root nubs will root in days rather than weeks.
Method 1: Root the Pup in Water (Easiest to Monitor)
This is the most popular method because you can watch the roots grow.
- Snip the pup off the runner with clean scissors, cutting the runner about an inch above and below the pup
- Put the base of the pup in a small glass or jar of room-temperature water
- Keep the leaves above the water line. Only the base and root nubs should be submerged.
- Place the jar in bright, indirect light. Avoid direct sun, which heats the water and promotes algae.
- Change the water every 3 to 5 days to keep it fresh and oxygenated
- Wait for roots that are 1 to 2 inches long
- Pot it up in moist, well-draining soil
Timing: Usually 1 to 3 weeks depending on the size of the pup and the warmth of your home. Warmer temperatures speed up root development.
Tip: Use a clear glass so you can monitor root growth without disturbing the pup. A narrow-mouthed jar works well because it holds the pup upright with the leaves resting on the rim.
Method 2: Root the Pup in Soil (Less Mess)
This method skips the water-to-soil transition, which some plants handle poorly. The pup roots directly in its final growing medium.
- Fill a small pot (2 to 3 inches) with lightly moist potting mix
- Make a small hole in the center of the soil
- Place the pup so its base and any root nubs sit in the hole, with leaves above the soil surface
- Gently press the soil around the base to hold it in place. Use a paperclip or small stake if the pup tips over.
- Keep the soil lightly moist (not soggy) for 2 to 3 weeks
- Tug very gently after two weeks. Resistance means roots have formed.
This method requires a bit more attention to soil moisture since you cannot see the roots developing. But it produces a plant that is already adapted to soil and does not need a transition period.
Bonus Method: Root While Still Attached
This is the lazy-parent method. I respect it.
- Put a small pot of moist soil next to the mother plant
- Place the pup on the soil while it is still attached to the runner
- Pin it down lightly with a U-shaped piece of wire or a paperclip bent into a staple shape
- Keep the soil lightly moist
- After two to three weeks, tug gently to check for roots
- Once rooted, snip the runner connecting it to the mother plant
It is almost impossible to fail because the pup continues to receive nutrients from the mother plant while it establishes its own root system. This is how spider plants propagate naturally in the wild.
How Many Pups Can You Take at Once?
You can take as many pups as the mother plant produces without harming it. The mother plant grows pups specifically to reproduce, so removing them does not cause stress. In fact, removing pups can redirect the mother plant’s energy back into its own growth.
If you want the mother plant to focus on getting bigger and fuller instead of producing more babies, trim the runners off at the base.
Common Mistakes
- Letting the base sit too deep in water. Submerged leaves rot. Only the root nubs and base should be underwater.
- Potting into a huge pot. Small roots like small pots. A 2 to 3 inch pot is perfect for a single pup.
- Keeping the soil soaking wet. Lightly moist, not waterlogged. Soggy soil causes rot before roots can establish.
- Giving up after 5 days. Roots take time, especially in cooler temperatures. Be patient.
- Taking pups that are too small. Very tiny pups with only one or two leaves have a lower success rate. Wait until they are a couple inches across.
Aftercare
For the first month after potting:
- Light: Bright, indirect light. Avoid harsh direct sun.
- Water: Water when the top inch of soil dries. Spider plant babies are small and dry out faster than mature plants.
- Fertilizer: Do not fertilize right away. Wait four to six weeks, then use a diluted balanced liquid fertilizer at half strength.
- Pot size: Keep the pup in its small pot until roots start coming out the drainage holes, then move up one size.
Within a few months, your pup will start putting out new leaves and growing into a full spider plant. Within a year or two, it may start producing its own pups — and the cycle continues.
What To Do Next
- If you liked this, try pothos or philodendron propagation next. Both root easily in water.
- Give one pup away to a neighbor or a friend. Free plants are community building.
- If your mother plant has stopped producing pups, make sure it is getting enough light and is slightly rootbound. A plant in a too-large pot focuses on root growth instead of reproduction.