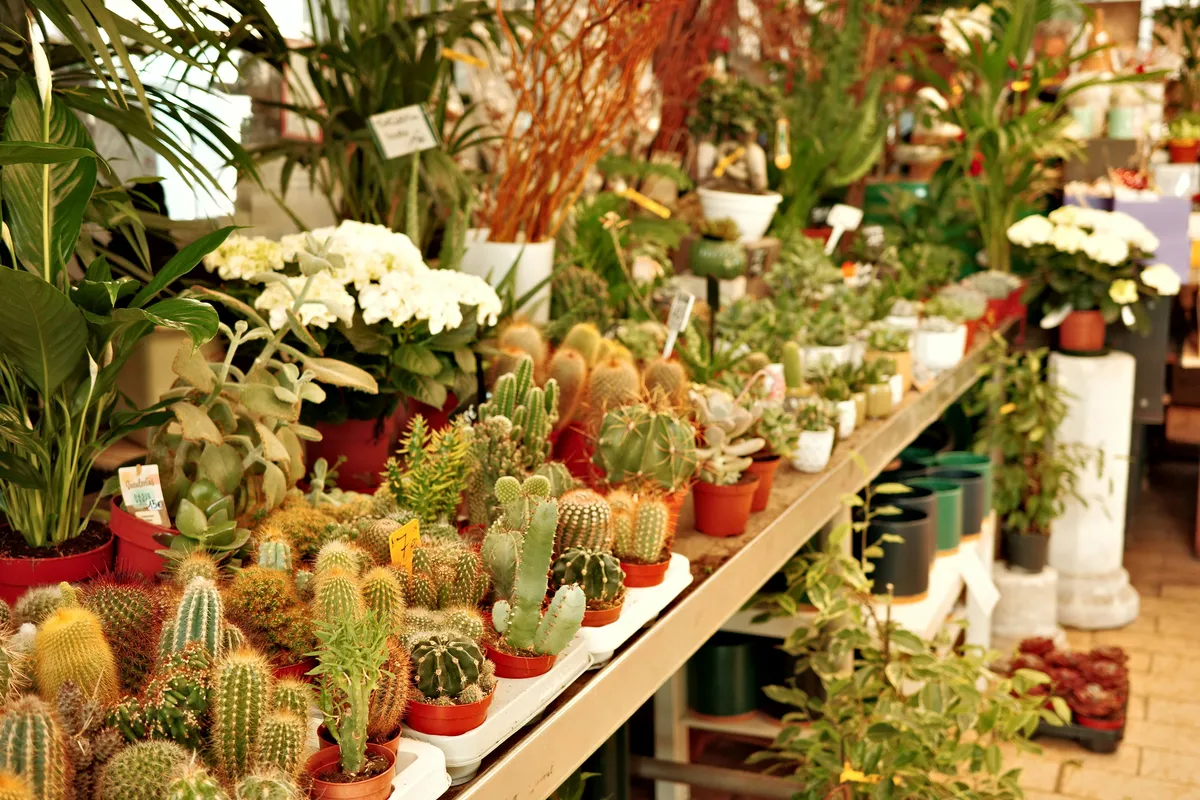
How to Pick Healthy Plants at the Nursery (Without Getting Duped)
I have a confession. For years, I walked into garden centers and nurseries like a kid in a candy store - grabbing whatever caught my eye, tossing it in my cart, and then wondering two weeks later why my beautiful new plant was dropping leaves like it was personally offended by my apartment.
Turns out, a lot of those plants were already in trouble before I brought them home. I just did not know what to look for. Some had pest problems hiding under their leaves. Others had root systems that were so cramped and tangled they never stood a chance. A few were just cosmetically propped up - looking great on the shelf but running on fumes.
After killing more than my fair share of impulse buys (sorry, that one gorgeous calathea from Home Depot), I finally learned how to actually evaluate a plant before it goes in my cart. And honestly, it has saved me a ton of money and heartbreak. Let me walk you through what I look for now.
Start With the Leaves, Not the Price Tag
I know it is tempting to beeline for the sale rack. We have all been there. But the first thing you should look at on any plant is the foliage, and you need to really look - not just glance.
Healthy leaves should have consistent color. That means even, vibrant green (or whatever color the species is supposed to be) without random yellowing, browning, or pale patches. A few cosmetic blemishes from being bumped around the store are fine. What you are watching out for are patterns that suggest something systemic - yellowing that starts at the base and moves up (overwatering), crispy brown edges across multiple leaves (underwatering or low humidity), or pale washed-out color overall (not enough light).
New growth is a great sign. If you see small unfurling leaves at the top or fresh shoots coming from the soil, that plant is actively growing and happy in its current conditions. A plant with zero new growth that has been sitting on the shelf for a while might be stressed, dormant, or slowly declining.
One thing I always do is gently turn a few leaves over and check the undersides. This is where problems love to hide.
The Pest Check You Cannot Skip
This is the step most people skip entirely, and it is the one that matters the most. Bringing home a plant with hitchhiker pests is how you end up with an infestation across your entire collection. Ask me how I know.
Here is what to look for:
Sticky residue on the leaves or the shelf beneath the plant. This is honeydew - the waste product of sap-sucking insects like scale, mealybugs, or aphids. If the leaves feel tacky, put the plant down and walk away.
Tiny webs between the stems or under the leaves. Spider mites spin fine, almost invisible webs. They are incredibly common on plants that have been kept in dry, warm store conditions. Look closely at the junction where the leaf meets the stem.
White cottony clusters along the stems or in leaf joints. Mealybugs look like little tufts of cotton. They love to wedge themselves into tight spots where leaves meet the main stem. They are a pain to get rid of, so it is much easier to just not bring them home in the first place.
Small brown or tan bumps on the stems. Scale insects do not look like bugs at all - they look like little flat discs stuck to the plant. Run your fingernail gently along a stem. If the bumps come off and there is a wet spot underneath, that is scale.
Tiny flying insects when you disturb the soil. Give the pot a gentle tap or poke the soil surface. If tiny black flies swarm up, those are fungus gnats. Fungus gnats alone are more annoying than harmful, but they often signal consistently overwatered soil, which can mean root problems.
I make it a rule to quarantine every new plant for at least two weeks after bringing it home. Keep it in a separate room from your collection and check it regularly. Even with careful inspection, some pests take time to show up.
Check the Roots (Yes, Really)
This is the part where you might feel a little awkward, but trust me - it is worth it. The root system tells you more about a plant’s actual health than the leaves ever could.
If the pot has drainage holes (and it should), peek at the bottom. A few roots poking out is actually a good sign - it means the root system is established and actively growing. However, if roots are circling aggressively out of the drainage holes, thick and tangled, the plant is severely rootbound and has been sitting in that pot for way too long. It can still be saved with a good repot, but it is not ideal.
If you feel comfortable doing it - and at most nurseries, nobody minds - gently tip the plant out of its pot. You want to see white or light-colored roots that are firm, not mushy. If the roots are dark brown, black, or smell funky, that is root rot, and you should put it back. If the root ball slides out and is basically just a solid mass of circling roots with no soil visible, it has been rootbound for a long time.
The soil surface matters too. If you see a white crusty layer on top of the soil, that is mineral buildup from hard water - not necessarily a deal breaker, but it suggests the plant has been sitting in the same soil without attention for a while. Green algae or mold on the soil surface usually means it has been staying too wet.
The Stem Test
Give the main stem a very gentle wiggle. A healthy plant should feel firmly anchored in its pot. If the whole plant wobbles loosely, it might have a weak or damaged root system - or it might have been recently repotted and has not established yet. Either way, it is a risk.
For plants with woody stems (like a fiddle leaf fig or rubber plant), run your fingers along the stem and check for soft, mushy spots. Healthy stems should feel firm and solid. Soft spots can indicate rot or fungal infection that has spread into the stem tissue, and once it gets that far, it is very difficult to reverse.
Also look at the spacing between leaves on the stem. If a plant has long stretches of bare stem between leaf nodes, it has been getting insufficient light and has been stretching toward whatever light source it could find. This etiolation is not harmful in itself, but it means the plant has been stressed, and that leggy growth pattern is permanent - those gaps will not fill in.
Bigger Is Not Always Better
I used to always grab the biggest plant I could find because it felt like I was getting the most for my money. But I have learned the hard way that smaller, healthier plants often outperform larger stressed ones in the long run.
A compact, bushy plant with lots of healthy growth points will fill out quickly once you get it home and give it good conditions. A tall, leggy plant that has been struggling in a dark corner of the store might never recover that full shape.
This is especially true with tropical foliage plants like pothos, philodendrons, and monsteras. A 4-inch pot with a healthy, actively growing plant will often catch up to a struggling 8-inch specimen within a few months.
The exception is slow-growing plants like snake plants, ZZ plants, or large cacti. With those, size actually does matter because they take years to grow, and a bigger plant genuinely represents more time.
Timing Your Visit Matters
Here is a tip I picked up from chatting with a nursery employee: the best time to shop for plants is right after a new shipment arrives. Plants are at their freshest and healthiest when they first come in. The longer they sit on the store shelf under fluorescent lights and inconsistent watering, the more they decline.
At big box stores like Home Depot or Lowes, new plant shipments typically arrive on specific days of the week - it varies by location, but if you ask someone in the garden department, they will usually tell you. At my local Home Depot, it is Tuesday mornings. That is when I go if I am looking for something specific.
Local nurseries and garden centers are even better because the staff typically has plant knowledge and actually cares for the inventory. The plants are usually healthier, the selection is more curated, and you can get real advice. Yes, prices tend to be a bit higher, but you are paying for quality and supporting a local business. As a dad with limited plant budget (kids are expensive, plants are my treat), I have found that spending a few extra dollars at a local nursery saves me money in the long run because the plants actually survive.
Spring is peak season for plant shopping, roughly March through May. Nurseries get their biggest and most diverse shipments during this window. But fall can also be great - some stores discount their remaining inventory to clear space for holiday items, and you can find deals on perfectly healthy plants.
The Clearance Rack - Proceed With Caution
Every plant parent has a weakness for the sad, discounted plants shoved on the clearance rack. I get it. There is something satisfying about rescuing a struggling plant and nursing it back to health.
But here is the honest truth: not every clearance plant is a rescue project worth taking on. Before you grab that half-off calathea, ask yourself a few questions.
Does it still have viable growth points? Look for nodes, dormant buds, or any sign of new growth. A plant with no green tissue left and no active growing points is not a rescue - it is done.
Is it a pest problem or a care problem? If the plant is just droopy and sad from being neglected and underwatered, there is a good chance it will bounce back with proper care. If it is covered in pests, the cost of treatment supplies and the risk to your other plants might not be worth the bargain.
Can you realistically provide what it needs? That discounted calathea is cheap for a reason - it is a demanding plant that was probably mistreated in the store. If you already know you struggle with humidity-loving plants, saving two dollars and then watching it slowly die is not really a win.
That said, some of my favorite plants came from the clearance rack. My biggest, most beautiful pothos started as a scraggly little thing with three sad leaves that cost me a dollar fifty. Sometimes the gamble pays off.
My Quick Checklist
Here is what I run through in my head every time I pick up a plant at the store. It takes about thirty seconds once you get used to it.
Leaves look healthy with consistent color and no widespread yellowing or browning. No sticky residue, webs, white fuzz, or tiny bugs on the leaves, stems, or soil. New growth is visible - even a tiny unfurling leaf counts. The plant feels stable in its pot when gently wiggled. Roots at the drainage holes look white or light-colored, not black or mushy. The soil surface is not covered in mold, algae, or heavy mineral crust. The overall shape is compact and full, not stretched and leggy.
If a plant passes most of those checks, it is probably a solid buy. If it fails more than two, I put it back. There will always be another one.
Bringing It Home
Once you have picked a winner, the journey home matters too. In cold weather, wrap the plant in newspaper or a bag to protect it from the chill - even a few minutes of cold air can shock a tropical plant. In summer, do not leave it in a hot car while you run other errands.
When you get home, find a spot with appropriate light and leave the plant alone for a few days. Resist the urge to immediately repot it, fertilize it, or move it around trying to find the perfect spot. The plant just went through a major environment change, and it needs time to adjust. A little leaf drop during this transition is totally normal.
Remember - quarantine for two weeks before introducing it to your collection. I keep a dedicated quarantine shelf near a window in our guest room. My wife thinks it is ridiculous. She is probably right. But my plants have been pest-free for over a year, so I am sticking with it.
What to Do Next
Now that you know how to spot a healthy plant, here are a few good starter plants if you are building your collection: pothos, snake plants, spider plants, and ZZ plants are all forgiving and widely available. Check out our care guides for each of those if you want detailed instructions.
And if you have already brought home a plant that is not looking great, do not panic. Most common problems are fixable if you catch them early. Our guides on diagnosing yellow leaves, dealing with pests, and saving an overwatered plant can help you troubleshoot.
Happy plant shopping. May your cart be full and your quarantine shelf be empty.