Growing Napa Cabbage at Home: The Dumpling Wrapper That Grows Itself
There is a running joke in my family that napa cabbage is the duct tape of Chinese cooking. Stir-fry? Napa. Dumplings? Napa. Hot pot? Obviously napa. Kimchi? You already know. My mom could turn a single head of napa cabbage into three completely different dinners, and somehow each one felt like its own meal.
I started growing it a few years ago after getting tired of buying heads at the grocery store that were either too big for our fridge or already browning at the edges. Turns out, growing napa cabbage at home is surprisingly easy - and the flavor of a freshly harvested head is noticeably sweeter and crunchier than anything you will find in the produce aisle.
If you have ever grown lettuce or bok choy, you can absolutely grow napa cabbage. It is a cool-season crop that practically wants to succeed, as long as you give it the right timing and consistent water.
What Is Napa Cabbage, Exactly?
Napa cabbage (Brassica rapa subsp. pekinensis) is sometimes called Chinese cabbage, da bai cai, or wombok depending on which part of the world you are in. It forms tall, oblong heads with crinkly, pale green to white leaves that are thinner and more tender than regular green cabbage.
The flavor is mild and slightly sweet, with none of the sulfurous punch that round cabbage can have. That mildness is what makes it so versatile - it absorbs sauces and seasonings beautifully without overpowering a dish. The white, crunchy ribs hold up to braising and stir-frying, while the softer green leaf tips wilt perfectly into soups and hot pot.
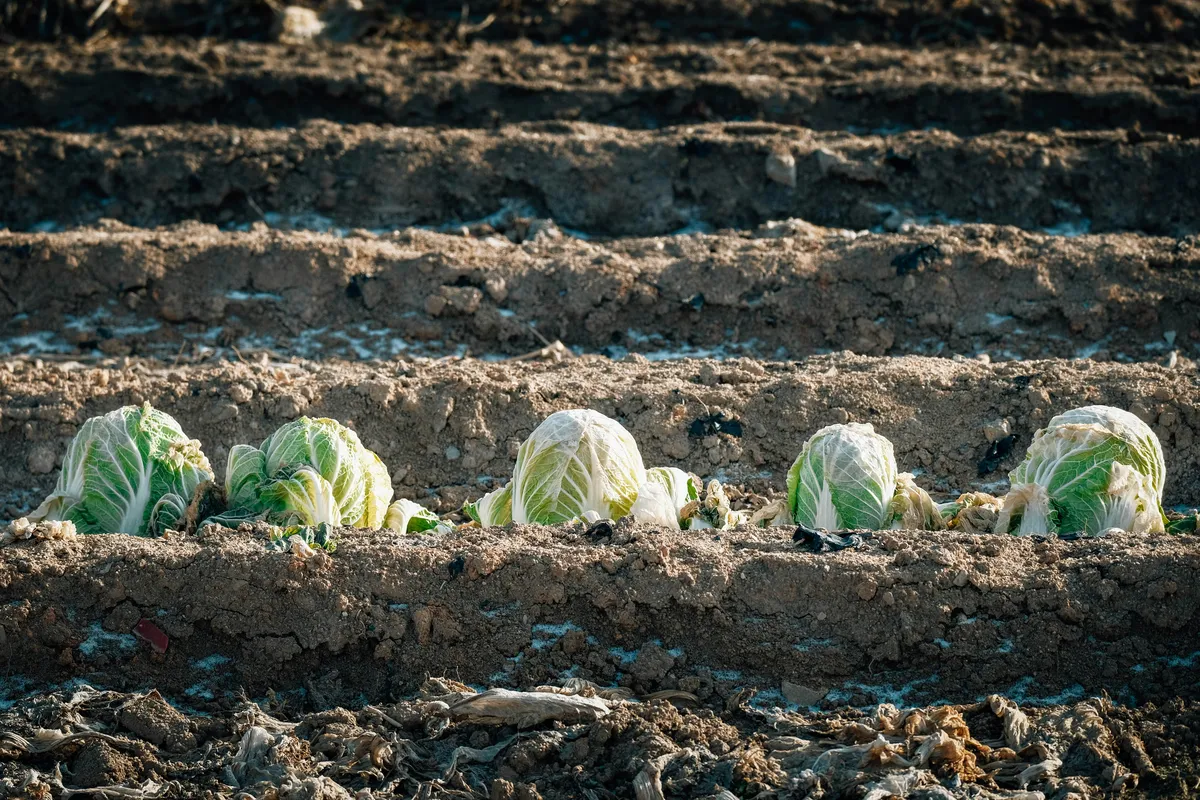
In Chinese grocery stores, you will see heads ranging from compact one-pounders to massive three-pound specimens. At home, you have complete control over harvest size, and honestly, the smaller heads are often more tender and practical for a family meal.
When to Plant Napa Cabbage
Timing is everything with napa cabbage, and getting this wrong is the number one reason people fail with it. Napa cabbage bolts - meaning it sends up a flower stalk and becomes bitter and tough - when exposed to temperatures above 80 degrees Fahrenheit or when day length increases sharply.
This means you have two planting windows:
Spring planting: Start seeds indoors about 4-6 weeks before your last frost date. In the New York area, that means sowing seeds inside around mid-March and transplanting outdoors in late April. The goal is to get heads formed before summer heat arrives in June. This window is tight, and spring crops are more bolt-prone than fall ones.
Fall planting (recommended): This is the sweet spot. Direct sow seeds outdoors about 8-10 weeks before your first expected fall frost. For most of the Northeast, that means late July through mid-August. The gradually cooling temperatures and shorter days actually help napa cabbage form tighter, sweeter heads. Fall crops are more reliable and generally taste better.
If I had to pick one season, I would go with fall every time. The plants are happier, the pest pressure is lower, and you end up with heads that are perfect for making kimchi before winter.
Starting from Seed
Napa cabbage is almost always started from seed - you will rarely find transplants at garden centers. Seeds are easy to find online or at Asian grocery stores that carry gardening supplies. Look for varieties like “Michihili” (tall and cylindrical), “Blues” (compact and bolt-resistant), or “Rubicon” (a good all-around performer).
Direct sowing (easiest for fall crops):
Sow seeds about a quarter to half inch deep in moist soil. Space them about 2 inches apart initially. Once seedlings have 3-4 true leaves, thin them to 12-18 inches apart. I know thinning feels wasteful, but trust me - crowded napa cabbage produces sad, undersized heads. The thinnings make excellent micro-greens in a salad, so nothing goes to waste.
Starting indoors (better for spring crops):
Use small pots or cell trays with seed starting mix. Plant 2-3 seeds per cell, a quarter inch deep. Keep soil moist and warm (around 65-75 degrees Fahrenheit) until germination, which usually takes 4-7 days. Thin to one seedling per cell once they sprout.
When transplanting, be very gentle with the roots. Napa cabbage does not love having its roots disturbed. Harden off seedlings for about a week before planting outside, and transplant on a cloudy day or in the evening to reduce shock.
Soil and Sun Requirements
Napa cabbage wants fertile, well-draining soil with a pH between 6.0 and 7.5. Before planting, work in a generous amount of compost - these are heavy feeders that appreciate rich soil. If your soil is heavy clay, amend it with compost and perlite to improve drainage.
For sunlight, aim for at least 6 hours of direct sun per day. In warmer climates, afternoon shade actually helps prevent bolting. I grow mine in a spot that gets morning sun and dappled shade after about 2 PM, and the plants seem to love it.
Watering - The Most Important Part
If there is one thing that will make or break your napa cabbage, it is consistent watering. These plants are about 95 percent water, and they need a steady supply to form those plump, crunchy heads.
Aim for about 1 to 1.5 inches of water per week, either from rain or your hose. Water at the base of the plants rather than overhead - wet leaves invite fungal problems, and nobody wants to deal with that.
The key word here is consistent. Irregular watering - too dry then suddenly drenched - causes the heads to crack or bolt. I use a drip hose on a timer and check soil moisture with my finger every couple of days. If the top inch of soil feels dry, it is time to water.
Mulching around the base of plants with straw or shredded leaves helps retain moisture and keeps the soil temperature more stable. In summer heat, this can make the difference between a successful crop and a bolted mess.
Growing in Containers
Here is the good news for apartment and balcony gardeners - napa cabbage grows surprisingly well in containers. You need a pot that is at least 12 inches in diameter and 12 inches deep. One plant per pot is the way to go.
Use a quality potting mix amended with compost. Container plants dry out faster than in-ground ones, so you will need to water more frequently - potentially every day during warm weather. A self-watering container is a great investment if you go this route.
I have grown napa cabbage in 5-gallon grow bags on my back patio, and the results were nearly as good as my in-ground plants. The heads were slightly smaller, but the flavor was identical. If you live in a small space, this is absolutely worth trying.
Fertilizing
Napa cabbage is a moderate to heavy feeder. Side-dress with compost or apply a balanced organic fertilizer (like a 10-10-10 or fish emulsion) about 3 weeks after transplanting or thinning. A second application 3 weeks later helps the heads fill out.
Do not go overboard with nitrogen-heavy fertilizers late in the season. Too much nitrogen encourages leafy growth at the expense of head formation, and the leaves will be more susceptible to pests.
Common Problems and How to Fix Them
Bolting: The most common complaint. If your napa cabbage sends up a flower stalk, the head is done - the leaves will turn bitter. Prevention is key: plant at the right time, keep water consistent, and choose bolt-resistant varieties for spring planting.
Aphids: These tiny green or gray insects cluster on the undersides of leaves and on new growth. A strong spray of water knocks most of them off. For serious infestations, insecticidal soap works well. Check plants weekly so you catch them early.
Cabbage worms and loopers: The caterpillars of white butterflies love brassicas. If you see small white butterflies fluttering around your plants, check the undersides of leaves for tiny eggs. Hand-pick caterpillars when you see them, or use floating row covers to prevent the butterflies from laying eggs in the first place.
Flea beetles: These tiny black beetles chew small holes in leaves, giving them a shot-hole appearance. Row covers are the best prevention. The damage is mostly cosmetic on mature plants but can kill young seedlings, so protect them early.
Slugs and snails: A classic problem in cool, moist conditions - exactly the weather napa cabbage loves. Set out beer traps or use iron phosphate bait around your plants. I scatter crushed eggshells around the base of mine, which seems to help and makes me feel like I am recycling responsibly.
Harvesting
Napa cabbage is typically ready to harvest 70-85 days after sowing, depending on the variety. The heads should feel firm when you squeeze them gently. Do not wait until they feel rock-hard - slightly softer heads are actually more tender and flavorful.
Cut the head at the base with a sharp knife, leaving the outer wrapper leaves to protect the inner head. If you leave the stump in the ground, some varieties will sprout small secondary heads that you can harvest as loose greens.
Harvest in the morning when the leaves are cool and full of moisture. A fresh head will keep in the refrigerator for 2-3 weeks if you wrap it loosely in plastic or a damp towel.
What to Do With Your Harvest
This is the fun part. A single head of napa cabbage opens up a world of cooking possibilities:
Stir-fry - Cut into chunks, stir-fry with garlic, ginger, and a splash of soy sauce. This was a weeknight staple in our house growing up. Five minutes, done.
Dumplings - Finely chop napa cabbage, salt it, squeeze out the water, and mix with ground pork, ginger, and sesame oil. My wife and I make a big batch of dumplings every few weeks, and homegrown napa makes the filling noticeably better.
Hot pot - Tear the leaves into pieces and add them to your broth. The white ribs stay crunchy while the leaf parts absorb all that rich, savory flavor.
Kimchi - If you have never made kimchi at home, growing your own napa cabbage is the perfect excuse to start. There is something deeply satisfying about fermenting vegetables you grew yourself.
Soup - Napa cabbage and tofu soup is one of the simplest, most comforting things you can make. Chicken broth, sliced napa, silken tofu, a few drops of sesame oil. My mom made this whenever someone in the family was feeling under the weather.
Tips I Wish Someone Had Told Me
Start with a fall crop. Seriously. Spring napa cabbage is doable but much more finicky. Fall growing is forgiving and the results are better.
Do not skip thinning. I know it hurts to pull out perfectly good seedlings, but overcrowded napa cabbage just does not form heads well. Think of it as giving each plant room to reach its potential - kind of like giving your kids their own bedroom instead of making them share.
Water on a schedule, not when you remember. Consistent moisture is the secret to sweet, crunchy heads. If you tend to forget, set a phone reminder or invest in a drip system with a timer.
Grow more than you think you need. Napa cabbage stores well in the fridge, and you will be amazed how quickly you go through it once you start cooking with homegrown heads. Two or three plants might sound like enough, but six to eight is a better number for a family that likes Asian cooking.
Next Steps
If napa cabbage is your first foray into growing Asian vegetables, you are going to love how easy and rewarding it is. Once you have that first harvest under your belt, check out our guides on growing bok choy, gai lan, and garlic chives - they all thrive in similar conditions and will expand your homegrown Asian vegetable game significantly.
Happy growing - and happy cooking.