Growing Mint at Home: The Herb That Refuses to Quit
Let me tell you something about mint. Most plant advice on the internet is about keeping things alive. Mint advice is about keeping it from taking over your entire yard.
I planted a single spearmint start in a corner of our garden bed three years ago. Within one season it had colonized the bed, crept under the edging stones, and was making a run for the lawn. My wife asked if I’d planted an invasive species. I said it was just mint. She was not reassured.
The thing is, this is exactly why mint is perfect for beginners. It’s nearly impossible to kill, it grows fast enough to be genuinely exciting, and it smells amazing. If you’ve ever wanted to feel like a successful gardener with minimal effort, mint is your plant.
Why Grow Your Own Mint
A bundle of fresh mint at the grocery store runs $3-4 and goes limp within days. A single mint plant costs about the same and will produce more leaves than your family can use for an entire growing season - and then come back next year.
Fresh mint is one of those ingredients where the difference between store-bought and homegrown is dramatic. The leaves are more aromatic, the flavor is brighter, and you can pick exactly as much as you need, right when you need it.
If you cook any kind of Asian food, mint is essential. Vietnamese spring rolls without mint? Incomplete. A bowl of pho without that little plate of fresh herbs on the side? My mom would be disappointed. Thai larb, Malaysian laksa, even a simple glass of iced tea on a hot summer day - mint makes all of it better.
Choosing Your Variety
There are hundreds of mint cultivars, but here are the ones that actually matter for home growers.
Spearmint (Mentha spicata) is the classic. Sweet, mild, and versatile. This is the one you want for Vietnamese dishes, mojitos, tabbouleh, and most cooking applications. If you only grow one mint, make it spearmint.
Peppermint (Mentha x piperita) has a sharper, more intense menthol kick. Great for tea, desserts, and that “clears your sinuses” feeling. Not the best choice for savory cooking because the flavor can be overwhelming.
Chocolate mint is a peppermint variety with a subtle cocoa undertone. My kids think this is the coolest plant we own. It smells like thin mints and grows just as aggressively as regular mint. Good in desserts and hot chocolate.
Apple mint (Mentha suaveolens) has fuzzy leaves and a fruity, mild flavor. It’s a little more well-behaved than spearmint and makes excellent tea. The fuzzy texture is fun for kids to touch.
Vietnamese mint (Persicaria odorata) is technically not a mint at all - it’s also called laksa leaf or rau ram. But it shows up in so many of the same dishes that it’s worth mentioning. It has a peppery, citrusy flavor that’s perfect for laksa and pho garnishes. It’s a tropical plant, so it needs warmth but handles humidity well.
My recommendation: start with spearmint. You can always add more varieties later. Trust me, you will have plenty of mint.
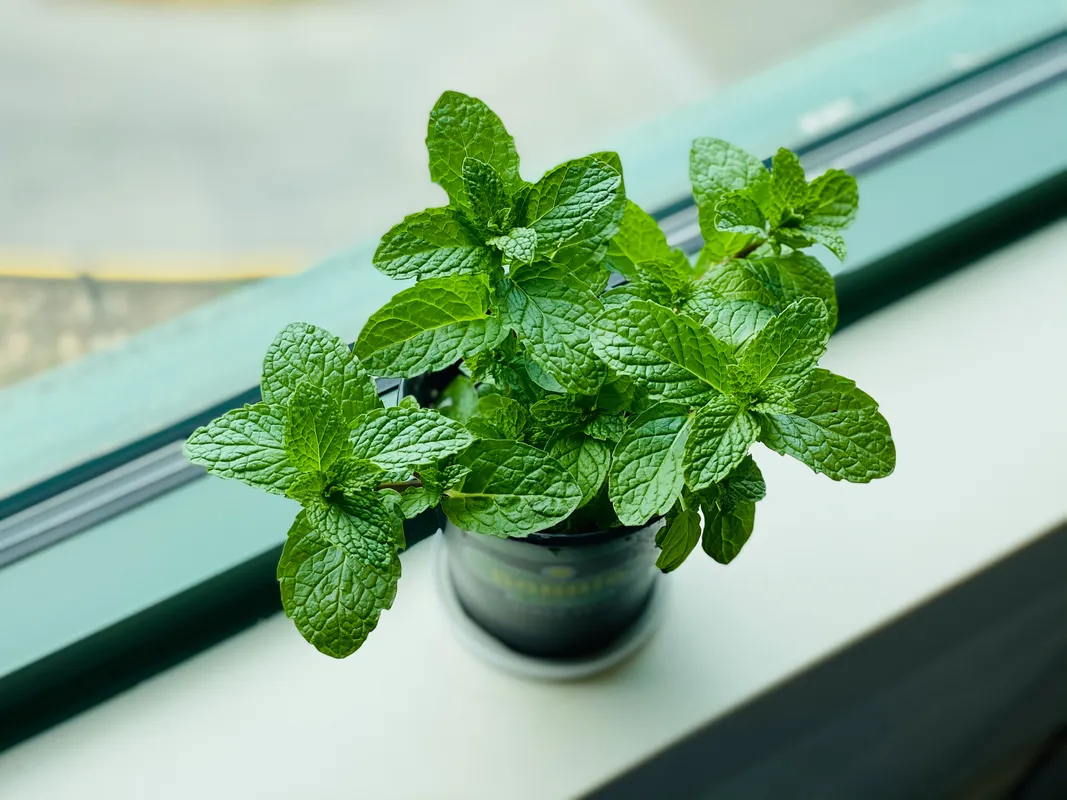
Container Growing: The Smart Approach
Here’s my number one piece of mint advice. Grow it in a container.
I know, I know. Garden beds sound nicer. But mint spreads through underground runners called stolons, and those things are relentless. Once mint establishes in a garden bed, removing it completely is nearly impossible. I’m still finding rogue spearmint shoots two years after I “removed” it from that bed.
What you need:
A pot that’s at least 12 inches in diameter with drainage holes. Mint has shallow but spreading roots, so wider is better than deeper. A standard 12-14 inch nursery pot works great.
Soil: Regular potting mix is fine. Mint isn’t fussy about soil. It prefers slightly acidic to neutral (pH 6.0-7.0), but honestly it’ll grow in almost anything. Mix in some compost if you have it.
The buried pot trick: If you really want mint in a garden bed, plant it in a pot first, then sink the pot into the ground with the rim sticking up about an inch above the soil line. This contains the runners while still giving the mint a “planted in the ground” look. Check every few months that no runners have escaped over the rim.
Planting and Getting Started
From transplants: This is the easiest way. Buy a start from a nursery or farmers market. Pop it out of its little pot, place it in your container at the same depth it was growing, fill around it with potting mix, and water it in. Done.
From cuttings: Got a friend with mint? Ask for a few stems. Cut 4-6 inch pieces, strip the lower leaves, and stick them in a glass of water on your windowsill. They’ll root in about a week. Once roots are an inch long, plant them in soil. This is how mint wants to reproduce - it’s almost too easy.
From seed: Possible but not recommended. Mint seeds are tiny, germination is spotty, and you’ll wait much longer for a usable plant. Life’s too short.
From the grocery store: Here’s a fun trick. Buy a bunch of fresh mint at the store. Pick the healthiest-looking stems, trim them, strip the bottom leaves, and root them in water just like cuttings. Not every stem will make it, but enough will. That $3 bundle just became your starter garden.
Light, Water, and the Basics
Light: Mint likes 4-6 hours of direct sunlight but tolerates partial shade better than most herbs. In hot climates (or on a south-facing NYC fire escape in July), some afternoon shade actually helps prevent the leaves from getting scorched and bitter. Morning sun with afternoon shade is ideal if you’re in a hot spot.
Water: Keep the soil consistently moist but not waterlogged. Mint likes water more than most herbs. Stick your finger in the soil - if the top inch is dry, it’s time to water. In containers during summer, this might mean every day or every other day. Don’t let it dry out completely, or you’ll get sad, wilted stems. They’ll bounce back when you water (mint is resilient like that), but consistent moisture gives you better flavor and more abundant leaves.
Temperature: Mint is a perennial in USDA zones 3-11, which basically means almost everywhere in the US. It dies back in winter and returns in spring. Container mint can be brought indoors for winter growing - just give it a bright windowsill and don’t overwater when growth slows down.
Humidity: Mint appreciates some humidity but isn’t dramatic about it. If you’re growing indoors in winter with dry heating, an occasional misting or a pebble tray helps.
Fertilizer: Mint doesn’t need much. A light application of balanced liquid fertilizer once a month during the growing season is plenty. Over-fertilizing actually reduces the essential oil content in the leaves, which means less flavor. Less is more here.
Harvesting: Use It or Lose It
This is the fun part. And with mint, harvesting isn’t just allowed - it’s encouraged. Regular harvesting makes the plant bushier and more productive.
When to start: Once your plant has several stems at least 6 inches tall, you can start picking. Don’t harvest more than a third of the plant at once.
How to pick: Pinch or snip stems just above a set of leaves. New growth will branch out from that point, giving you two stems where there was one. Always harvest from the top down. This prevents the plant from getting leggy.
Pinch the flowers: When mint starts to flower, the leaves lose some of their flavor. Pinch off flower buds as they appear to keep the plant focused on leaf production. If you forget (I always forget), just cut the plant back by half and it’ll flush out new, flavorful growth within a couple of weeks.
How much will you get? A single healthy mint plant in a 12-inch pot can produce enough leaves for daily use throughout the growing season. If you’re making a lot of mint tea or cooking with it regularly, two or three plants will keep you well-supplied.
Using All That Mint
Once your mint gets going, you’ll have more than you can use fresh. Here are some ideas.
Vietnamese spring rolls are possibly the best vehicle for fresh mint. Rice paper, shrimp or tofu, vermicelli noodles, and a generous handful of mint and Thai basil. The herbs make the dish.
Mint tea is dead simple. Grab a handful of fresh leaves, pour boiling water over them, and steep for 5 minutes. My grandmother used to say hot mint tea settles your stomach after a big meal. She was right.
Mint chutney is a staple in Indian cooking. Blend fresh mint with cilantro, green chilies, ginger, lime juice, and a pinch of salt. Incredible with samosas or grilled anything.
Freeze it. Chop mint leaves and freeze them in ice cube trays with a little water or olive oil. Pop a cube into soups, sauces, or drinks whenever you need it.
Dry it. Hang small bundles upside down in a dry, dark spot for a week. Crumble the dried leaves into a jar. Homemade dried mint is miles better than the dusty stuff in a tin from the store.
Share it. Seriously. Your neighbors will be impressed, and you’ll still have more than enough. Pot up a few rooted cuttings and hand them out. Spreading mint is basically a public service.
Common Problems (There Aren’t Many)
Mint is tough, but a few things can go wrong.
Leggy, sparse growth usually means not enough light. Move it to a sunnier spot. Also make sure you’re harvesting regularly - unpruned mint gets tall and straggly instead of bushy and full.
Rust shows up as orange-brown spots on the undersides of leaves. Remove affected leaves immediately and improve air circulation. Avoid overhead watering. If it’s bad, cut the whole plant back to the soil and let it regrow.
Spider mites can appear in dry indoor conditions. Mist the plant regularly and wipe leaves with a damp cloth. They’re more of a problem for indoor winter growers.
Powdery mildew looks like a white dusty coating on leaves. Improve airflow, reduce humidity on the foliage (water the soil, not the leaves), and remove affected parts. Thinning the plant to allow air circulation helps prevent this.
Mint is taking over everything. This isn’t a problem so much as a feature. But if your container mint is getting root-bound, divide it in spring. Pull the root ball out, split it into sections, and repot the healthiest section in fresh soil. Share or compost the rest.
Growing Mint Indoors Year-Round
Yes, you can grow mint inside. It won’t be quite as vigorous as outdoor mint, but it’ll give you enough for tea and cooking through winter.
Put it in your brightest window - south-facing is best. If your apartment is like ours (hello, north-facing windows in a NYC high-rise), a small grow light makes a big difference. Even a cheap clip-on LED grow light for a few hours a day will keep your mint happy.
Water less frequently indoors since there’s less evaporation. Let the top of the soil dry slightly between waterings. And don’t expect the same explosive growth you get outside in summer. Indoor mint is more of a slow and steady producer.
One trick: if you have outdoor mint, take cuttings in early fall and root them for indoor growing. Fresh plants adapt to indoor conditions better than transplanting a mature outdoor plant that’s used to full sun and rain.
The Bottom Line
Mint is the herb equivalent of that one friend who’s always enthusiastic, always shows up, and sometimes needs to be gently reminded about personal boundaries. It’s productive, forgiving, and genuinely useful in the kitchen.
Start with one spearmint plant in a container. Keep it watered. Harvest often. Within a month you’ll have more fresh mint than you know what to do with - and that’s a good problem to have.
Just don’t plant it directly in your garden bed. Learn from my mistakes.