Growing Ginger at Home from a Grocery Store Rhizome
I go through a lot of ginger. Between stir fries, congee, and the ginger scallion sauce my mom taught me to make, I probably buy a fresh piece every week. For years, I just let the leftover nubs dry out in the back of my fridge until they turned into sad little fossils.
Then one day my daughter asked why the ginger had bumps growing on it. Those bumps were growth eyes - basically the plant telling me it was ready to grow. We stuck it in some soil on a whim. Three months later, we had a genuinely beautiful tropical plant sitting in our kitchen. And eventually, fresh ginger.
If you cook with ginger regularly, growing your own is one of those projects that actually makes practical sense. It is not fast - ginger takes its time - but it is surprisingly easy once you understand what the plant wants.
Picking the Right Rhizome
You do not need to order anything special. Just head to the grocery store. The piece of ginger you buy for cooking is a rhizome, which is basically an underground stem, and it is all you need to start a plant.
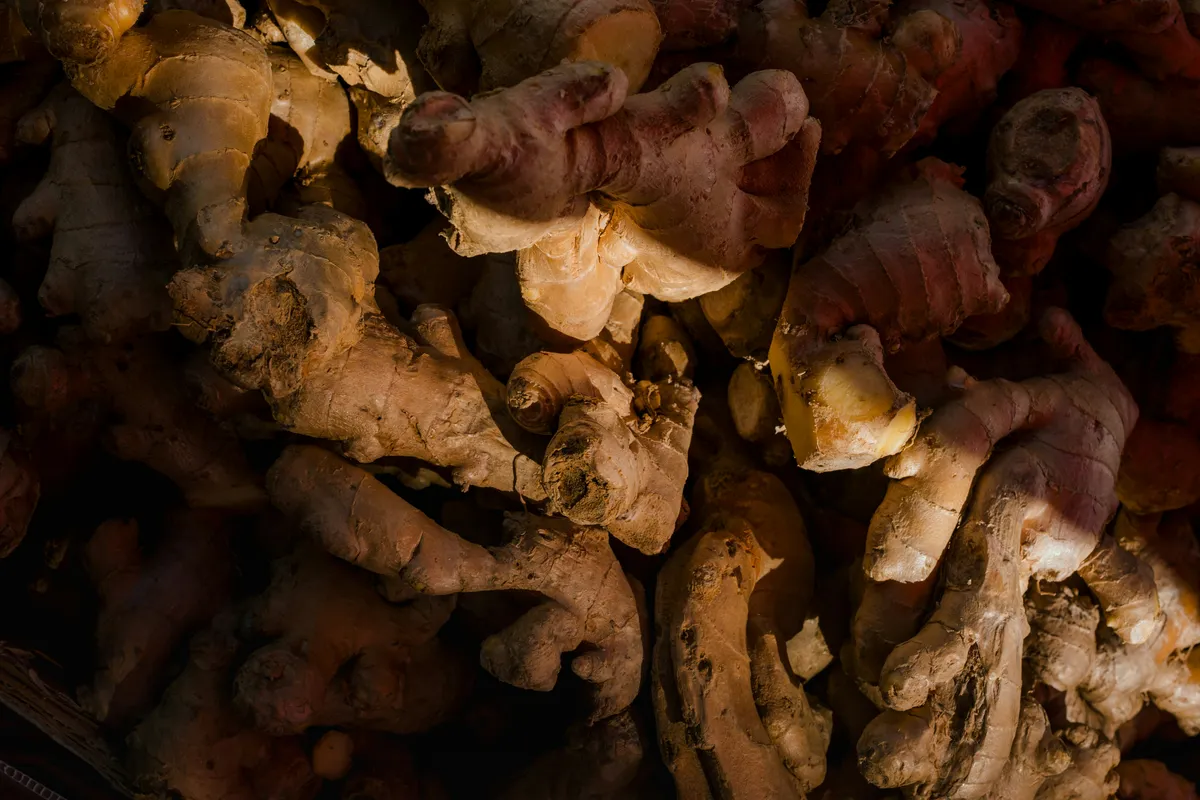
Here is what to look for: choose a piece that is plump, firm, and heavy for its size. The skin should be smooth and tight, not wrinkled or shriveled. Most importantly, look for growth eyes - small rounded nubs on the surface, similar to the eyes on a potato. These are the points where new shoots will emerge.
One important tip - go organic if you can. Conventional ginger from the grocery store is often treated with a growth inhibitor to prevent sprouting on the shelf. Organic ginger has not been treated, so it sprouts much more reliably. If organic is not available, soak the rhizome in water overnight before planting. This helps wash off any residual inhibitor and wakes the plant up.
Pre-Sprouting Your Ginger
You can plant the rhizome directly in soil, but I have had much better results pre-sprouting it first. It takes a little patience, but you will get stronger plants.
Cut your ginger into pieces about 2-3 inches long, making sure each piece has at least one or two growth eyes. Let the cut ends dry for a day or two - this callusing prevents rot, just like when you propagate succulents.
Then place the pieces on a damp paper towel inside a shallow container or zip-lock bag. Keep them somewhere warm, ideally between 70-80 degrees Fahrenheit. A spot on top of your fridge or near (not on) a heating vent works well.
Check every few days and mist the paper towel if it dries out. Within one to three weeks, you should see small green shoots emerging from the eyes. Once those shoots are about half an inch long, your ginger is ready to plant.
Choosing a Container and Soil
Ginger grows horizontally, not deep. The rhizomes spread outward just below the soil surface, so you want a container that is wide and shallow rather than tall and narrow. A 12-14 inch wide pot that is about 10 inches deep is a good starting point for one or two pieces.
Make sure there are drainage holes. Ginger likes consistent moisture but absolutely cannot sit in standing water. If you have ever lost a plant to root rot, you know the drill.
For soil, mix together equal parts regular potting soil and perlite or pumice. Ginger appreciates rich, well-draining media. I also mix in a handful of compost if I have it. The goal is soil that holds moisture without staying soggy - think of a wrung-out sponge.
Planting
Fill your container with soil mix, leaving about 2 inches of space at the top. Place the pre-sprouted rhizome pieces on the surface with the shoots pointing up. Cover them with about 1-2 inches of soil. Do not bury them too deep - ginger rhizomes grow near the surface and planting too deep is a common mistake that leads to rot.
Water gently until moisture drains from the bottom. Then find it a home and try to be patient.
Light and Temperature
Here is where ginger is surprisingly forgiving. Unlike most of the plants I write about, ginger does not want direct sunlight. In its native tropical habitat, it grows on the forest floor under a canopy of trees. Bright indirect light or filtered light is perfect. An east-facing window or a spot a few feet back from a south-facing window works well.
What ginger really cares about is warmth. It wants temperatures between 70-85 degrees Fahrenheit consistently. Below 60 degrees and growth stalls out. Below 50 and the plant can suffer real damage. This is why indoor growing works so well - your house is already in the right temperature range.
If you are growing outdoors in a container during summer, just bring it inside before nighttime temperatures drop below 60 in the fall.
Watering and Humidity
Keep the soil consistently moist but not waterlogged. Water when the top inch of soil feels dry. During active growth in spring and summer, this might be every few days. In winter, the plant slows down and needs less water.
Ginger loves humidity. If your home is dry - and most heated homes in winter are - you have a few options. Group it with other plants, place the pot on a pebble tray with water, or mist the leaves occasionally. A bathroom with a window can also be a great spot if you have the space.
I keep mine in the kitchen near the stove. The steam from cooking seems to keep it happy, and it is right where I need it when I am actually cooking with ginger. Win-win.
Feeding Your Ginger
Ginger is a moderate feeder. Once active growth begins (you will see new shoots pushing up and unfurling into long, lance-shaped leaves), feed every two to four weeks with a balanced liquid fertilizer diluted to half strength.
During the dormant period in winter, stop fertilizing entirely. The plant is resting, and pushing nutrients on it while it is sleeping does more harm than good.
What to Expect as It Grows
Ginger is not a fast grower, so adjust your expectations accordingly. After planting, you might not see much action for a few weeks. Then slender shoots will push through the soil and unfurl into narrow, glossy green leaves that grow in an elegant arching pattern.
The foliage looks a lot like bamboo, actually. It is a genuinely attractive houseplant even if you never harvest a single piece of ginger from it. The leaves are aromatic too - brush against them and you will catch a faint ginger scent.
A single rhizome piece will eventually send up multiple shoots. Over the course of a growing season, a healthy plant can reach 2-4 feet tall. Below the surface, the rhizome is slowly expanding, growing new fingers and knobs.
Harvesting
This is the part that requires the most patience. For the best flavor, ginger needs 8-10 months of growth. You can do a small harvest earlier - some people snip off a piece after just 3-4 months - but young ginger is milder and more fibrous.
To harvest without killing the plant, carefully dig around the edges of the pot and snap off what you need from the outer portions of the rhizome. Leave the main central portion with its attached shoots intact. Cover everything back up with soil and the plant will keep growing.
If you want to harvest the whole thing, wait until the leaves start to yellow and die back naturally, usually in late fall. Tip the whole pot out, shake off the soil, and break off what you want to use. Save a few healthy pieces with good eyes for replanting next season.
Fresh homegrown ginger tastes noticeably different from store-bought. It is more aromatic, more complex, and the skin is so thin you barely need to peel it. My kids say it tastes spicier, which I take as a compliment to my gardening skills.
Common Problems and How to Fix Them
Yellowing leaves during the growing season. This usually means overwatering. Check that your pot is draining properly and let the soil dry out a bit more between waterings.
No new growth after planting. Be patient first - ginger can take 2-4 weeks to show signs of life. If nothing happens after a month, the rhizome may have been treated with growth inhibitor. Try again with organic ginger.
Mushy or rotten rhizome. Too much water, not enough drainage, or the rhizome was planted too deep. Start over with fresh ginger, better-draining soil, and plant it shallower.
Leaves curling or browning at the tips. Low humidity or inconsistent watering. Increase humidity around the plant and try to keep a more regular watering schedule.
Leggy, pale growth. The plant needs more light. Move it closer to a window or add a grow light.
Growing Ginger with Kids
I have to mention this because it is one of the best kid-friendly plant projects I have found. The pre-sprouting stage is basically a science experiment - watching those little green nubs push out of the rhizome is fascinating for small humans. My daughter checked on hers every single morning for three weeks straight.
The plant itself is tough enough to survive some toddler-level neglect, the leaves are non-toxic, and harvesting feels like digging for buried treasure. Plus there is a real satisfaction in using something you grew together in dinner that night.
We made homemade ginger ale with our first harvest. It was way too strong and my son made a face like he had bitten into a lemon. But he still talks about it as “the soda we grew,” and honestly, that is the whole point.
What to Do Next
If you enjoy growing ginger, the same technique works for turmeric (Curcuma longa), which is a close relative with similar growing requirements. You can also try galangal if you cook a lot of Thai food. Both can be started from grocery store rhizomes the same way.
And if you are looking for more kitchen garden projects, check out our guides on growing Thai basil and growing green onions from scraps. Fresh aromatics make such a difference in home cooking, and once you start growing your own, it is hard to go back to the plastic clamshells from the store.